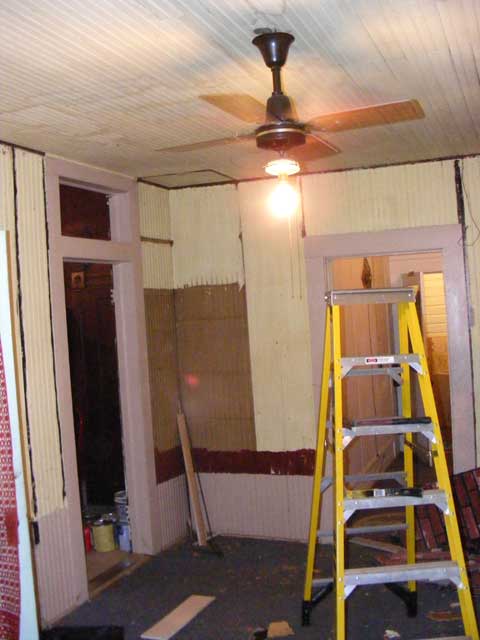
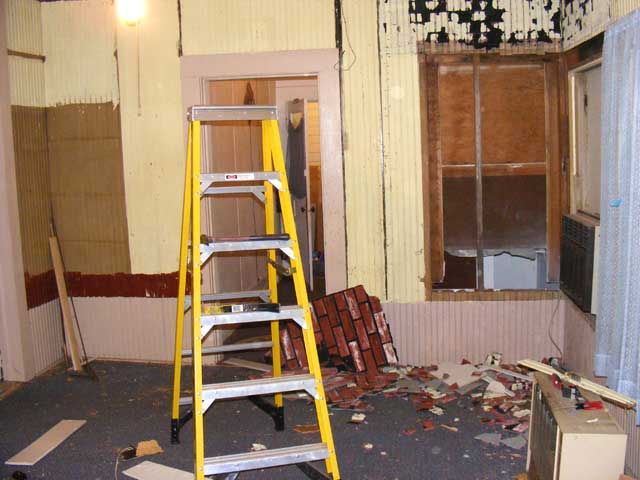
The Sun Room…soon to be my art studio…was on the agenda this weekend.
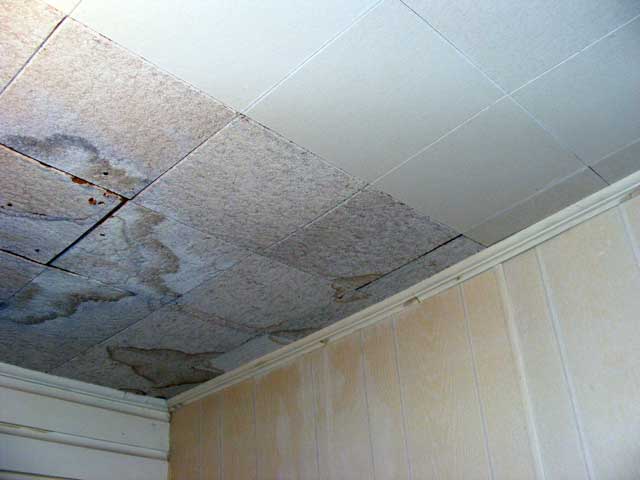
The ceiling was covered in 1×1 foot fiber ceiling tiles, circa 1960’s I would guess. One section had water damage, and the rest, even though there was no water damage, were very wavy and…well…ugly.
The looked similiar to this pic (which is of the second kitchen soon to be utility room, of course I forgot to take a “before” pic of the sunnroom ceiling):
They were so wavy we were sure that the ceiling underneath was rotted and/or detached from the old water damage and would need replaced.
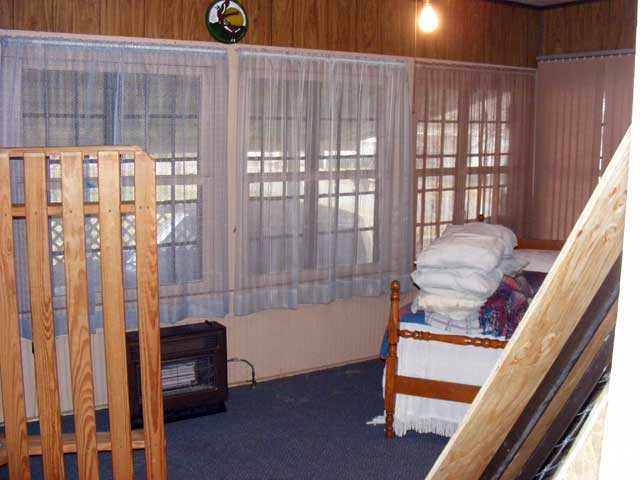
The walls were covered in paneling from the same era…paneling being a very kind word for “simulated wood grain over wood substitute composite substrate” as it turns out was stamped on the back. Again, circa 1960’s we think.
This section of the house is first on the list…as we need the utility room now and it’s all sort of connected…and what with a door moving and so forth…well, we went after this for the demolition this weekend.
What a surprise!
The ceiling was held on with staples…they appear to be standard household paper stapler gauge though they may be slightly longer…the tiles interlock and the staples are put though the leading edge…
I climbed the ladder, grabbed a tile, and 15 running feet of ceiling, about 4 foot wide, came tumbling down. The rest went very similarly. Glad we took it down…a good rumbling thunderstorm and it all would have shook loose on my head, whilst I was, no doubt, sleeping peacefully or in some other innocent activity.
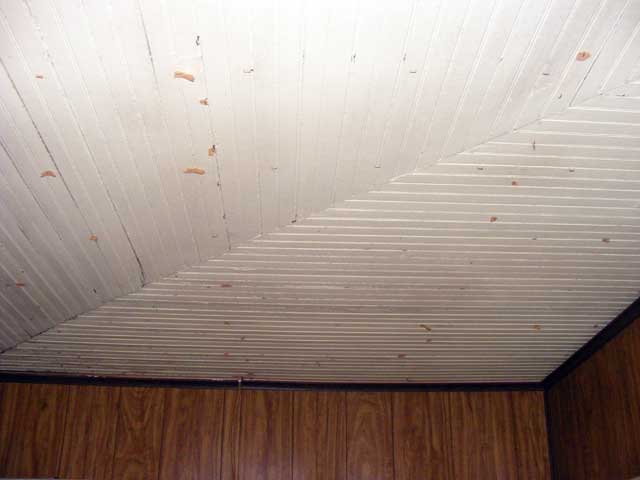
Underneath we found beadboard! Glorious beadboard! Beadboard that is in good condition!
Beadboard ceiling…
Of course…I spent the next three hours on the ladder with pliers, pulling staples…some of those are marked by the brown thingies on the picture above…
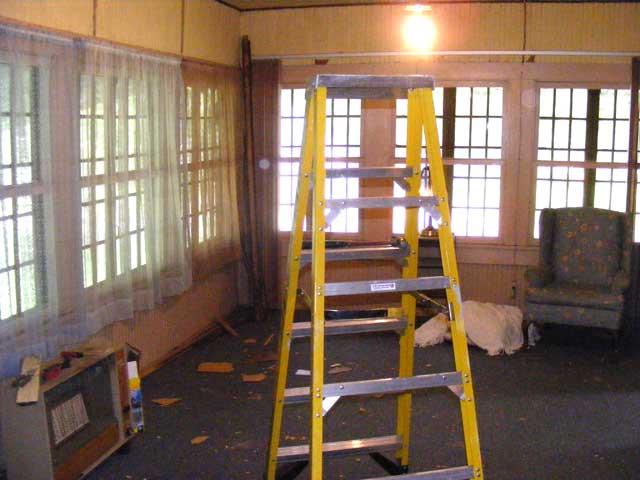
Here’s the paneling removed:
I also pulled a bunch of “Z-brick”. You guys remember that stuff? It was glued in the corner where a wood burning stove apparently used to be. Heavy stuff.
The bright side is, there is only one spot in the ceiling that needs repaired. I can get the beadboard from the wall with the door for that and panel it with the new beadboard (similar, but won’t match when put together with the old).
I had figured on about $1000 worth of materials, not counting light fixtures, for this room to fix the ceiling, walls, and wiring.
Turns out it needs a quick patch job, a bit of beadboard and door frame rearrangement, a spray of Kilz and a coat of paint.
Looks like it’s actually going to cost about $100.
Normally, it’s the hundred dollar job that turns into the thousand dollar job…it’s a rare thing when it goes the other way.
Looks like I’ll be shopping for light fixtures this week! (and insulation…and air-conditioning)
We’ll peak under the carpet later. We’re hoping for salvageable hardwood.
CUAgain,
Daniel Meyer

