Alternate title: “Destruction, mayhem, windows.”
Well, after two weekend’s work, $26 worth of lumber, the jigsaw puzzle from hell, $1500 worth of tools (two nail-guns and at least 5 different power-saws were involved), well, I’m right back where I started…about ready to work on the two sashes I walked upstairs to remove in the first place.
Gotta love old houses (I do! I’m not complaining…I LOVE a challenge!)
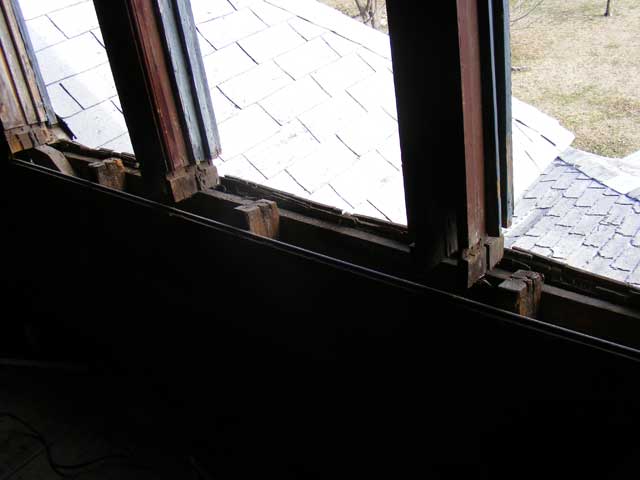
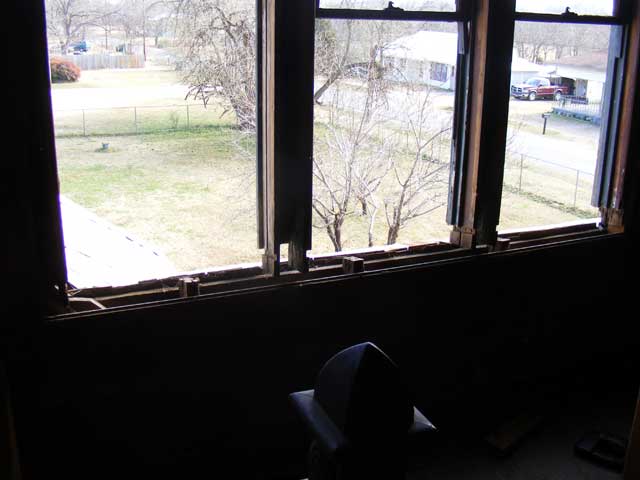
The construction here is fairly simple…there is a “sub-sill”…a one piece 2×6 that is offset to the outside, angled and notched to fit around the window framing. On top of that is the actual sill…a one-piece 1” thick that fits to the window frames and sits on top of the “sub-sill”…
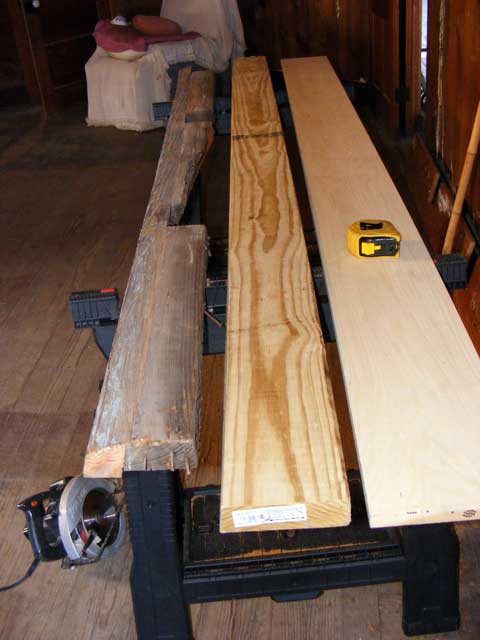
The sub-sill was not salvageable…severely rotted and warped/cracked. The sills themselves were completely gone…rotted to sticks and dust. There wasn’t even enough there to make a pattern. The 2×6 there is to be cut for the sub-sill, the 1×8 is a piece of poplar I’m going to use to make the main sill.
Since the windows are essentially “swinging free” at the bottom, and the sub-sill determines exact placement as it butts up against the dormer framing, careful measuring was required to get the windows in square as well as spaced correctly. Oh, and lets not forget the entire thing is at a 10 degree angle. “Measure twice and cut once.” didn’t work here…it was more like “Measure 42 times and cut 4 times” as I cut each notch and then completely measured again. I ended up with a perfect fit.
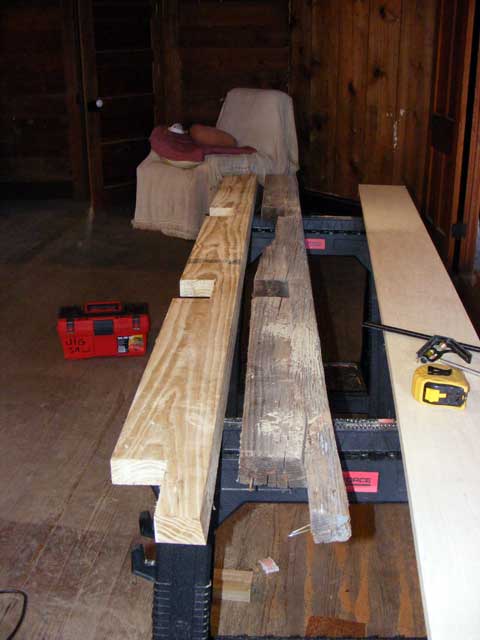
After more than an hour of careful measuring...and squaring up the actual windows...the cut sub-sill
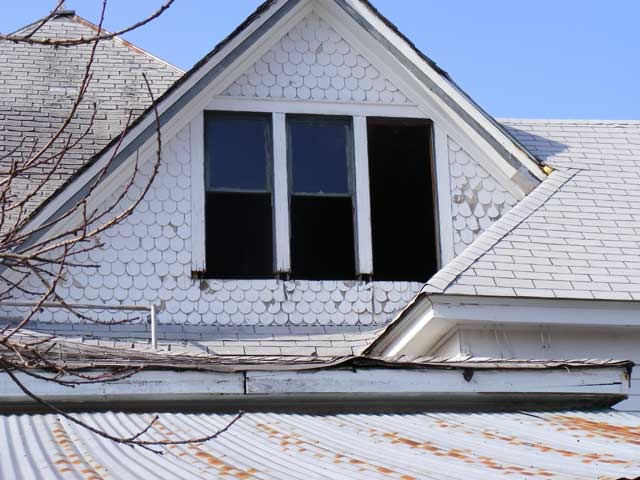
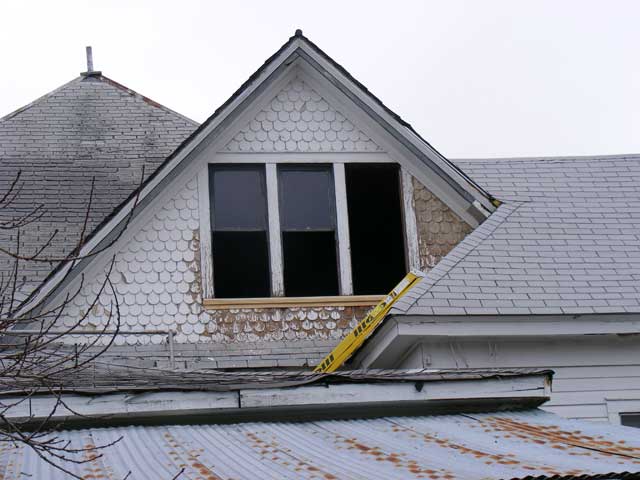
You may note the fish-scale appears to have cancer…changing color on the right side and below the window in the installed picture below.
That’s a story of a jigsaw puzzle on steroids.
Over the years the fish-scale had pulled loose from the under-sheathing…little by little. Repairs had been attempted, but done with short, fat, roofing nails for the most part.
The result was that many of the scales were split, and although they were nailed to each other, the repair nails hadn’t penetrated all the way through to the sheathing. The scales to the right and below the window came free of the house in a sheet.
Imagine a jigsaw puzzle with no picture (all the paint is peeling off), that somebody has lost some of the pieces over the years, cut up/split a bunch of others, pushed them together with pins, and when you poke at it with your finger just to see how bad it is the entire mess crashed 4 feet down on the roof below so it would shatter some more.
Some paint scraping and disassembly, a bunch of puzzling, two hours of careful work with a finishing nailer, and TA-DA! Looks great, will be there the next hundred years, and I’m only missing about three pieces. They are cedar shakes…so I can make replacements for the missing ones fairly easily. Then, more scraping and prime the entire mess.
So there you have it…I just went up to work on a couple sashes…and after two weekends of work I’m right back where I started…about ready to work on two sashes.
Just to show you what I’m up against…
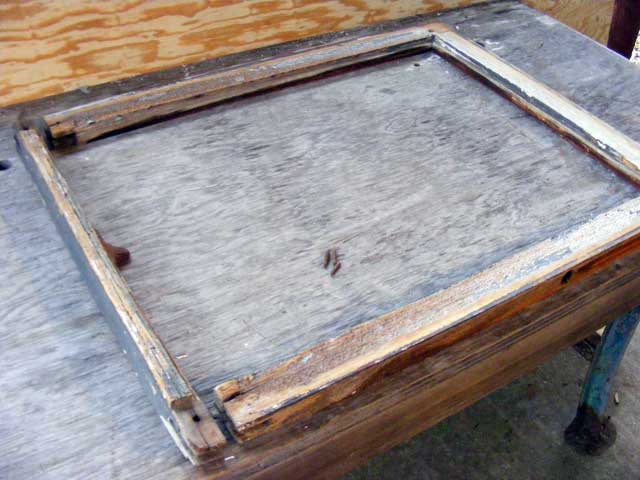
The top sash...all the joints have failed and part of the bead is rotten. Yep, I think I can save it.
I’ll be tinkering with that next weekend, as well as working on the priming of that dormer. The weather moved in on us and it was time to move to more “inside” work. When your ladder’s icing up it’s time to go.
CUAgain,
Daniel Meyer

