This is Phase Two–the installation of the new internal breaker box(es).
The wiring in this house, though functional, must be updated. It ranges from “knob and tube”, to zip cord, to cloth sheathed romex run under the house. It is not suited for modern loads and with the 100 years of patching and minor repairs, has some safety concerns, particularly when I start plugging in big power tools.
I carefully thought out the breaker box arrangement in this house. We intend on doing some extensive lighting both in and out of the house, as well as adding modern kitchen appliances, heat and air, and other electrical loads. In addition, an (unattached) garage/shop is in the cards for some day.
Lots of spaces was key…but also, I had to be careful about the physical size of the wire chases I had to bring into the house to the main panel(s). Cost was also an issue, as well as correctly using the space in the house (more about this later). Eventually, I elected to install two-100 amp breaker boxes on the first floor, fed out of the main box installed with the service. This gave me the most spaces and options for the least intrusive race installation.
It is just possible that I’ll install a third one on the second floor if it results in easier wire runs for the room by room wiring. That’s the beauty of the big outdoor panel I installed with the service. Maximum flexibility with the least expense/trouble for needed changes.
We started this phase of the project late on the night of 12/26…with a trip to Home Depot…Why there you ask? Well, the funny thing is…they beat the price of both the wire and the boxes over any electrical supplier I called…AND they are open convenient hours. What a concept. (Lowe’s was a close second, would have been fine, but Home Depot was closer).
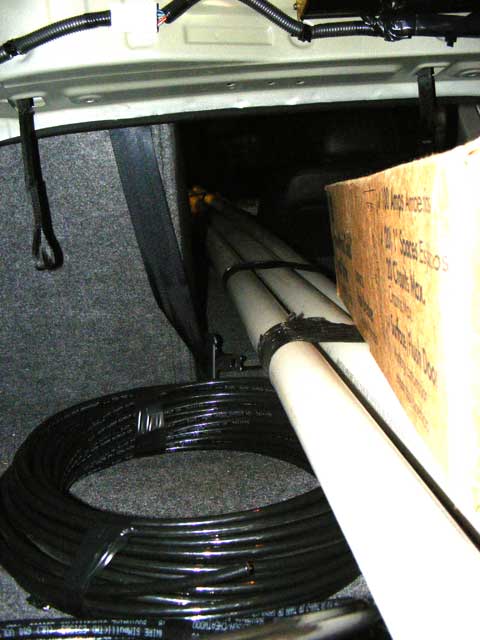
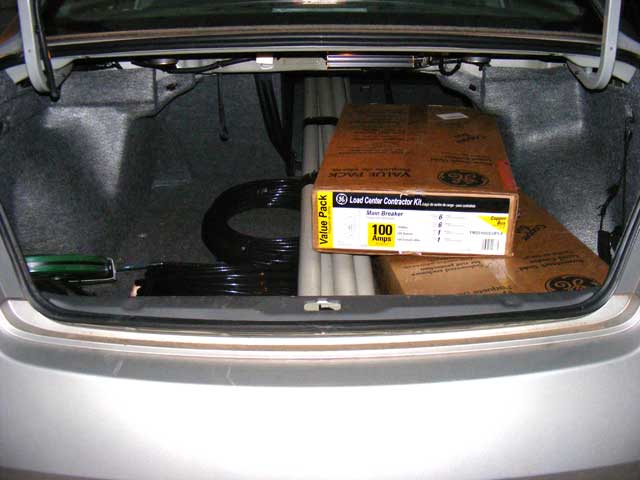
Psst…hey…wanna see what $900 worth of electrical stuff crammed into Crunchbird, my wife’s Nissan Altima, looks like? Seems we forgot to bring the truck on this trip…ah well.
Why Crunchbird? Well, a car’s gotta have a name…the wife hasn’t named it…and it went “crunch” early in its history. Explanations at the links.
That fold-down rear seat thingy came in handy…those are 10′ sticks of conduit.
My credit card exploded…but that’s okay. We got the stuff.
Stuffed in there is:
2 – 100amp 20 circuit GE breaker boxes.
60 feet of 1-1/2 PVC conduit.
366 feet of # 2 THHN copper wire.
A dozen or so small breakers of various sizes.
A bunch of misc fittings.
2 100 amp main breakers for the outside box.
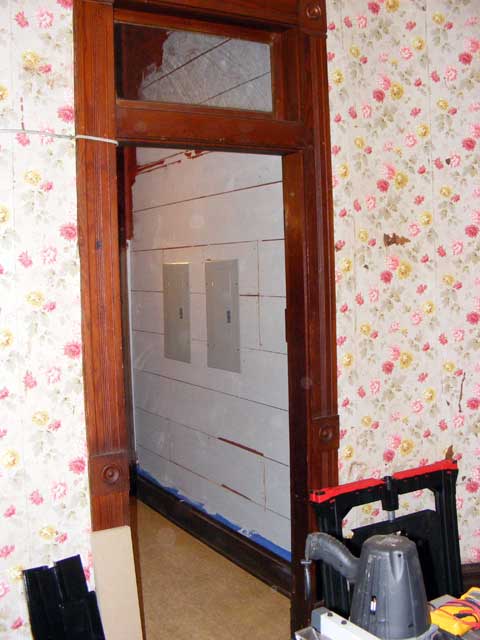
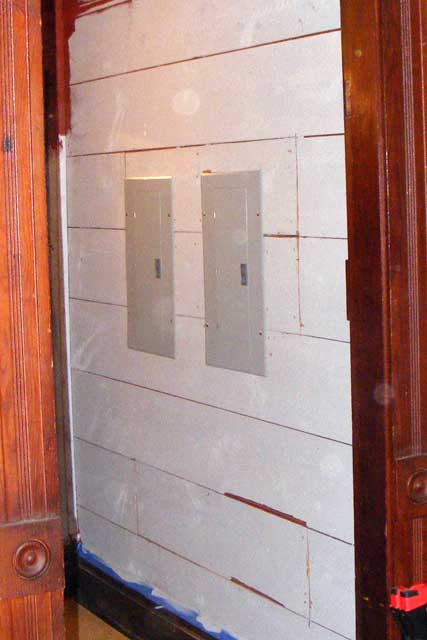
We selected the hallway between the kitchen and the dining room, directly opposite the bathroom (the bathroom was originally a butler’s pantry) for the location for the breaker panels. Several reasons for this selection…but mainly, not only does it meet all requirements of the National Electric Code, it doesn’t waste any space…
See, the hall is a hall…it is too narrow for a shelf or other furniture to be installed…and it is frequently traveled…so all it will ever be is a hall. So often breaker boxes get in the way of a great place for a shelf or something. Not here. We can hang art or something over them, but they will not be obstructed or obstructing to us in the future. Good use of space is important.
Note, the wallpaper is long gone, and this entire hall…in 1″x12″ tongue and groove rough red cedar, was for some reason stained an almost blood red…extremely dark. We slapped a $5 gallon of mis-mixed paint (check with your Home Depot or Lowe’s after any weekend) on it to lighten it up with something less than 10,000 watts of light. This was a temporary measure, but well worth the effort as with the wiring and other work, a finish covering for this wall is a long way off. Note, we are not “painting the woodwork”…
This wood was the “sheet-rock” of the day. It was rough cut intentionally to help the surface coat of burlap or plaster/lathe hang on better.
It is designed and installed with the intent to be covered up. It is, an underlay. The trim is mahogany and varnished and will remain so.
The most difficult part of this job is getting the wire chase (conduit) into the wall from the outside service box. There are massive beams under this house, and the walls typically sit right on top of them.
Some hours later I had the boxes installed.
I still need to pull in the service wire…I ran out of time and energy this weekend. That’ll be my next job!
Update: 01/02/08
My friend Mike came out today and, among other things, we got the wire pulled in and everything hooked up and tested. These panels are now hot and this phase of the project is complete!
The next phase is a room by room rewire


