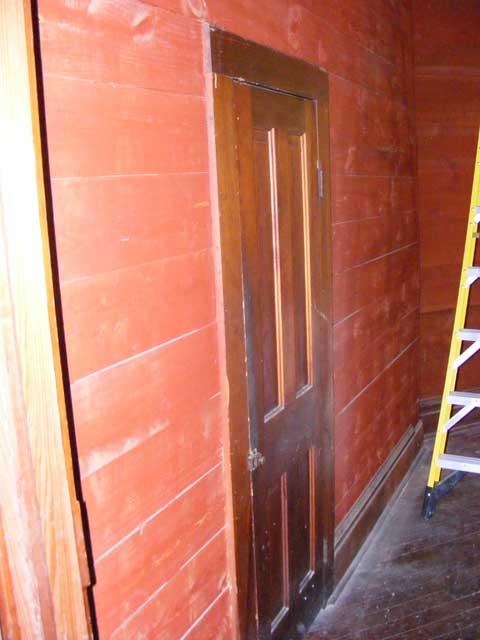
In 1922 the owners created a couple extra closets and effectively split the house in half by walling off a segment of the hallway. This covered the door from the dining room to the hall (that became one of the closet doors) and they had to remove the double French doors from the entry parlor to the hallway.
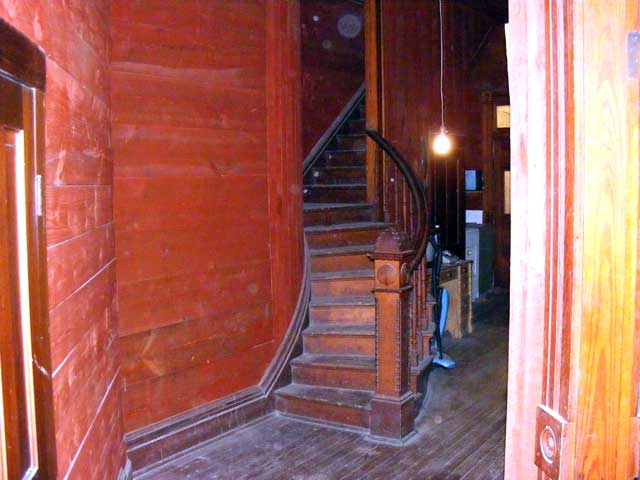
This resulted in a MASSIVE wall addition in the hallway, and vastly darkened the space with the removal of the French doors. It also obstructed the staircase, which while still usable, was no longer the central feature of the space.
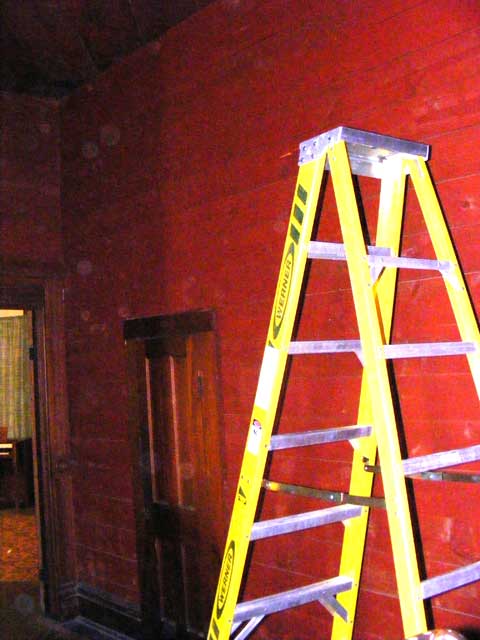
Either during that addition, or sometime after, they stripped the aging and stained wallpaper out of the hall, but unfortunately, then sprayed all the exposed rough lumber with a deep red stain, perhaps aiming for the Mahogany color of the wood work. They even included the ceiling. This created a space that was so dark and claustrophobic that it is nearly impossible to even photograph. It simply swallows all light.
Removal of this addition was high on our list. This single construction changes the house from light and airy to dark and forbidding. It also makes it a trip through several rooms to get anywhere. Since it was cold and dark outside, and this project doesn’t strain the budget (it cost exactly “nil”), we set to it.
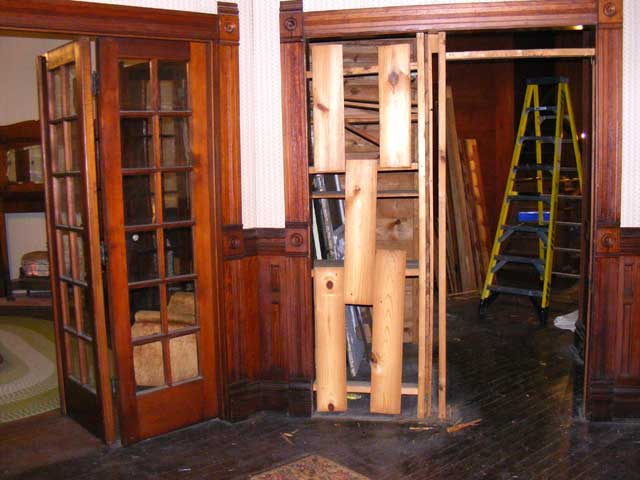
We set to work with a Stanley Wonderbar (Hint: Get you one of these miracles of destruction!). There’s an article about it posted in our tools section. We had to be careful not to further damage the floor or door trim, and additionally, moldings removed from the hall side of the French doors had been used as trim and fill in this construction. We wanted to save those.
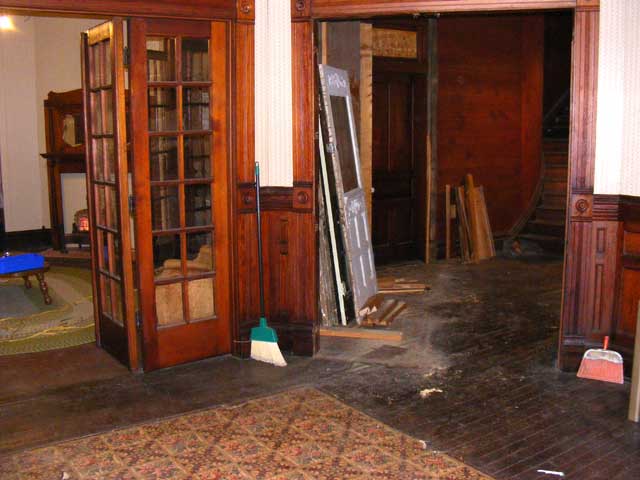
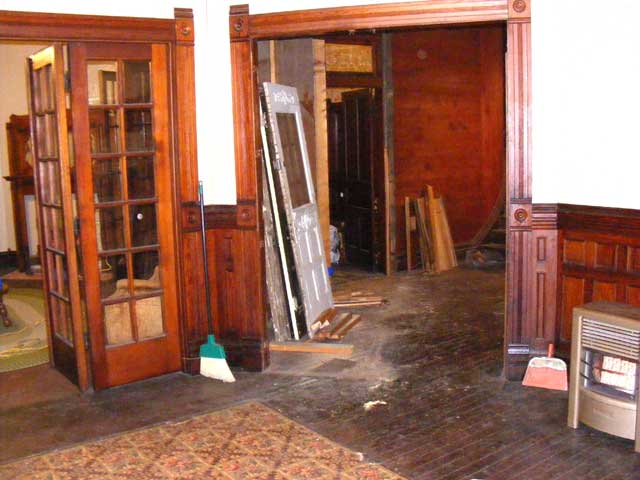
Within a couple hours we could see what we had…
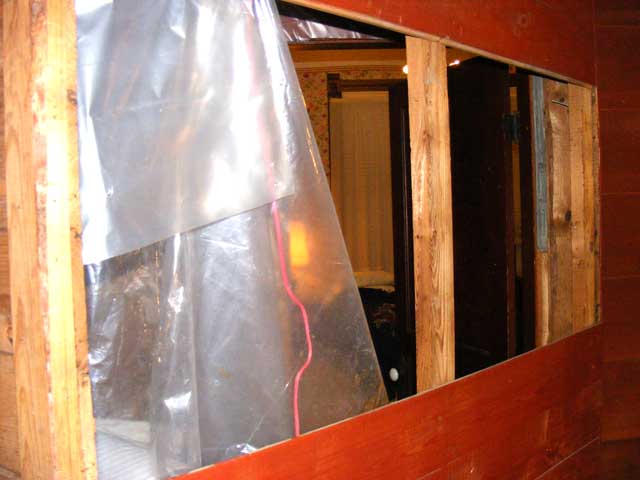
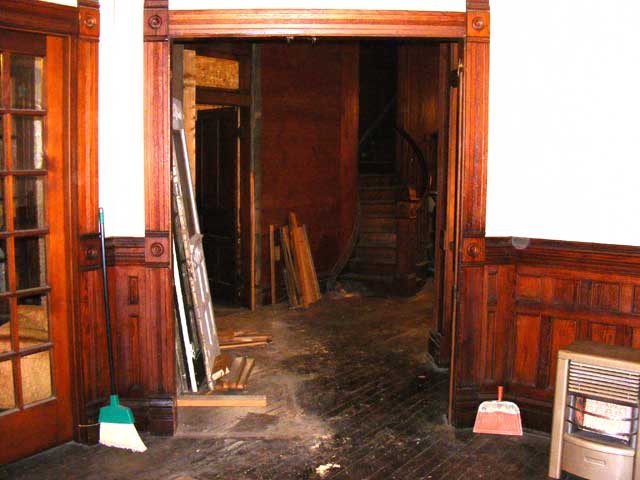
Some more work and things started to look interesting…
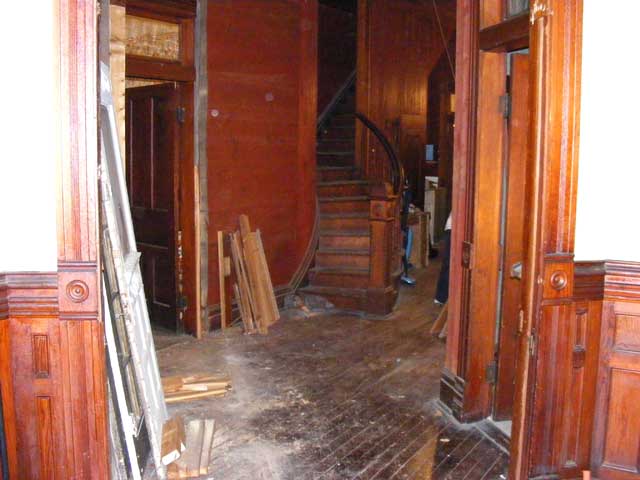
After removing what has to be 3/4’s of a ton of lumber, and pulling sixty-bajillion nails, we now have a usable and friendly hallway again, as well as a door from the dining room to the hall.
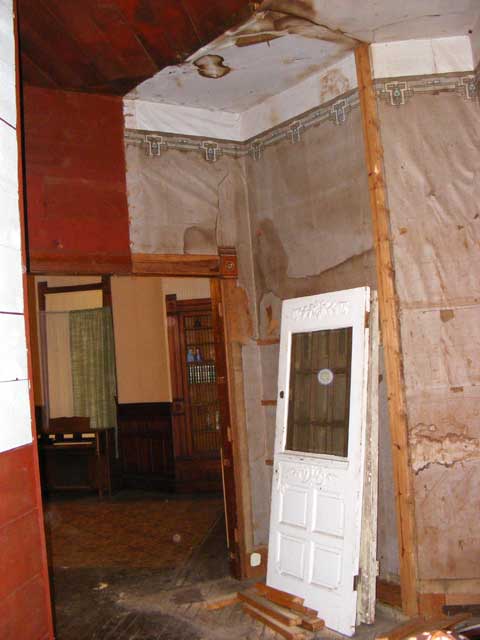
Looking back at the area we just uncovered shows the scale, and the old wallpaper gives a hint of the former grandeur of this place.
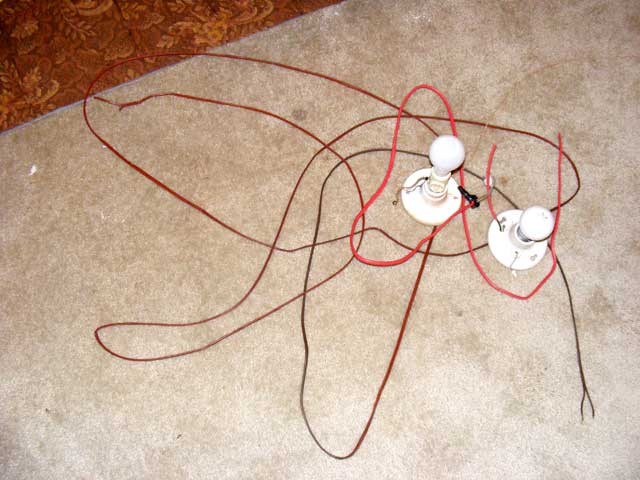
The wiring in this house like a Hollywood movie sequel…old and badly added onto. It ranges from knob and tube, to zip cord stapled to the wall, to romex run under the house. Sometimes you’ve just gotta rip it out and start from scratch. Here is the closet wiring…the first of much I’ll be happy to rip out. The zip cord ran out of the wall addition, across the hall ceiling, and was spliced onto the knob and tube feed for the hall light.
Mouseover this picture to compare before and after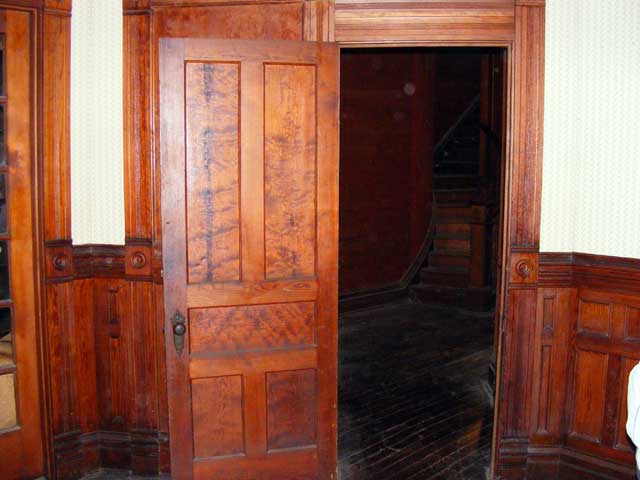
Well, that’s it for this project. A little more sweeping is needed but that’s about it. This took about six hours of steady work and cost nothing.
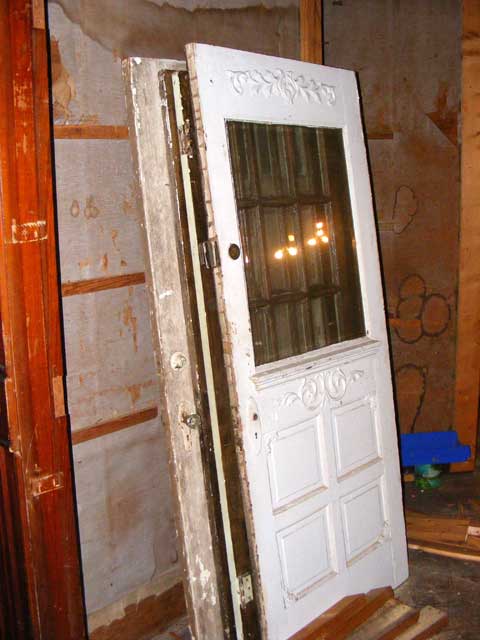
We also still have to install the French doors, but first we have to recover them from another alteration of the house. That will be another project.
Hope you’ve enjoyed. Feedback is welcome!
CUAgain,
Daniel Meyer


Pingback: Electric Service Riser Replacement | The Old Victorian