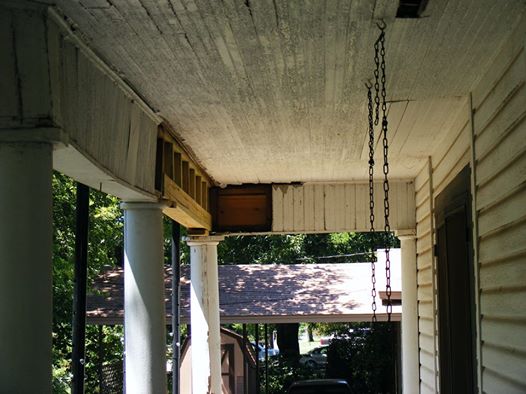
Some of you that have been following along may recall WAY back when I corrected/rebuilt the mess that was the back wall/rear entry of the Old Vic (here).
We ended up installing some French Doors that came with the house (we have 17 extra doors left, none of which fit the one place in the house that’s missing one).
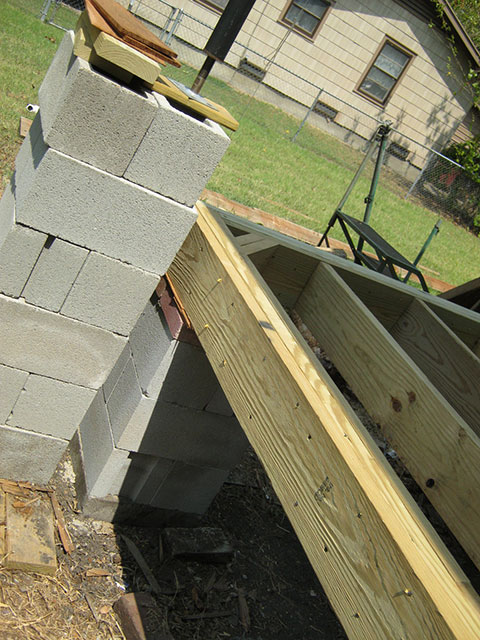
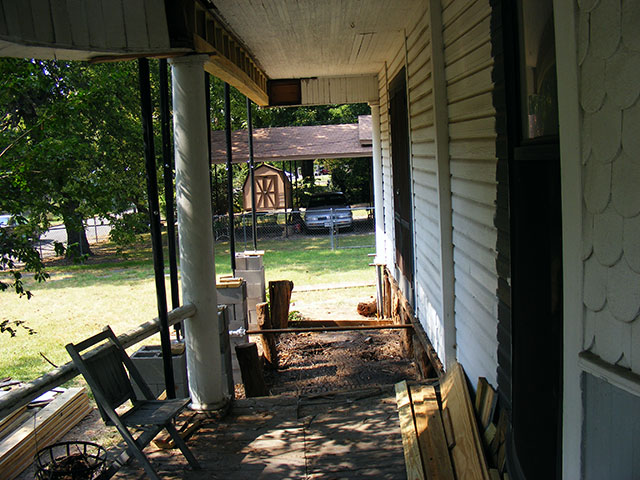
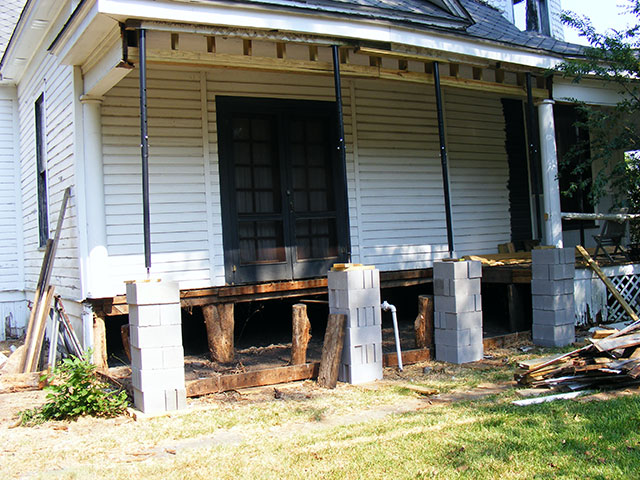
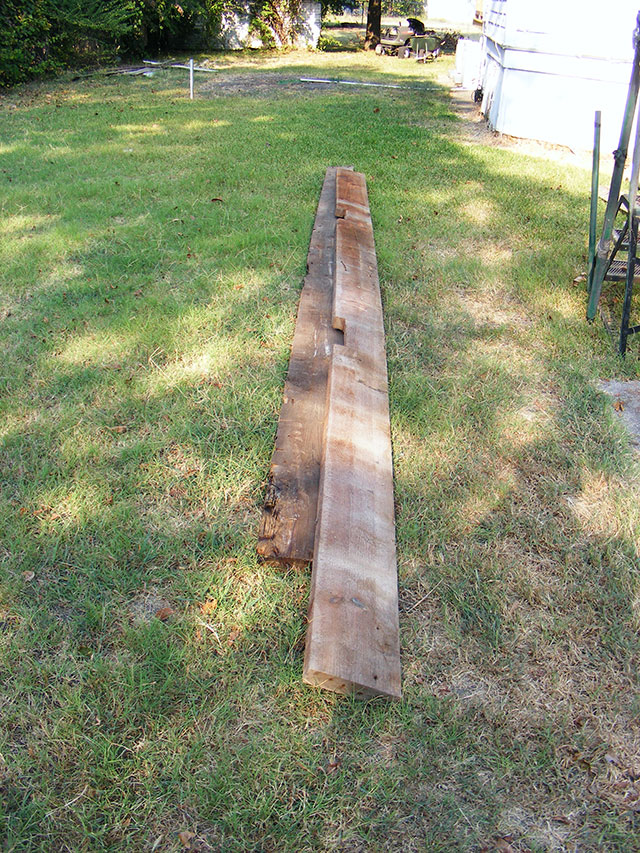
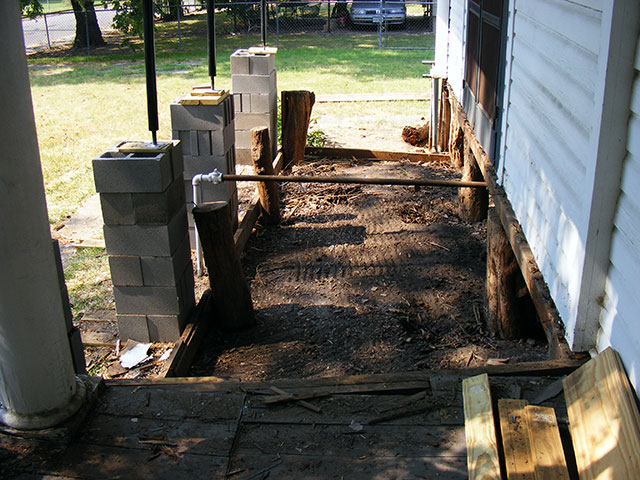
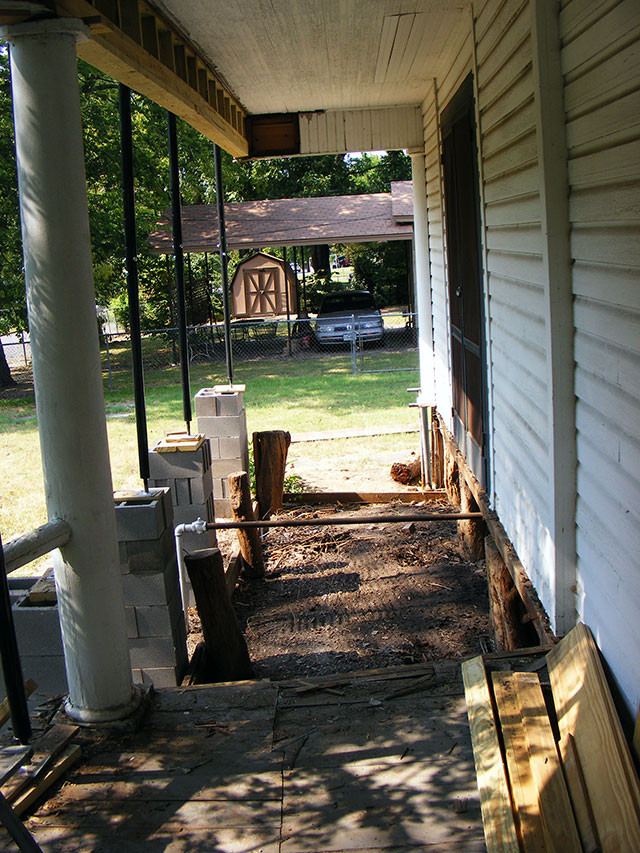
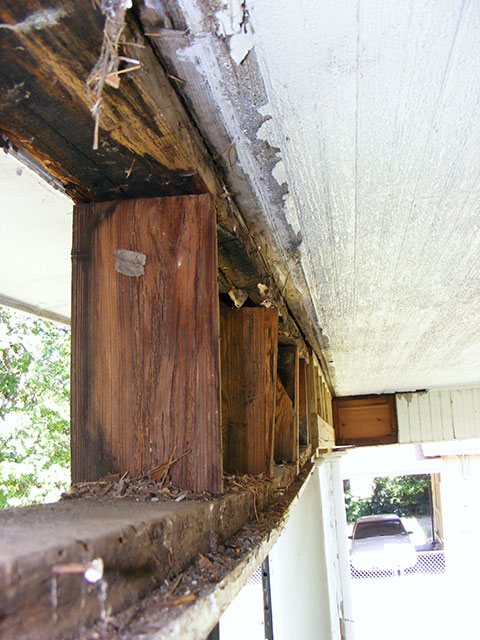
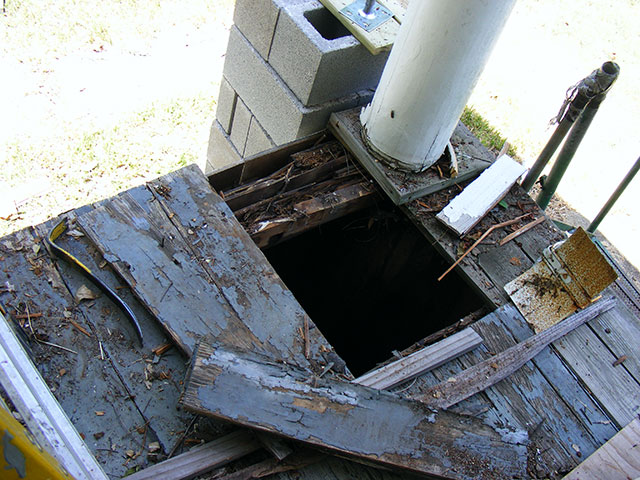
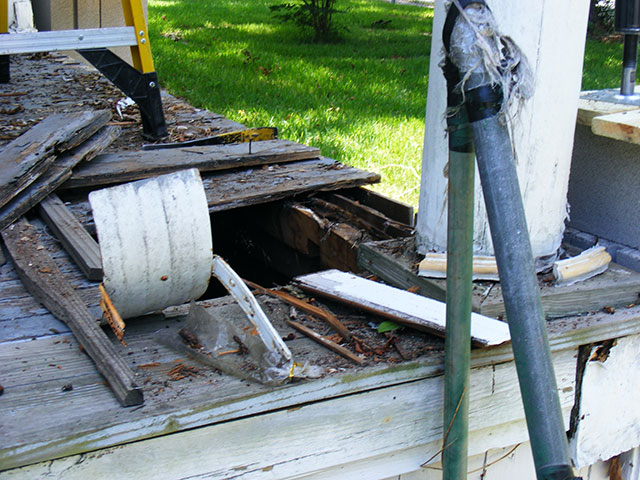
Along with a substantial bit of repair to the structure we went from this:
From this:
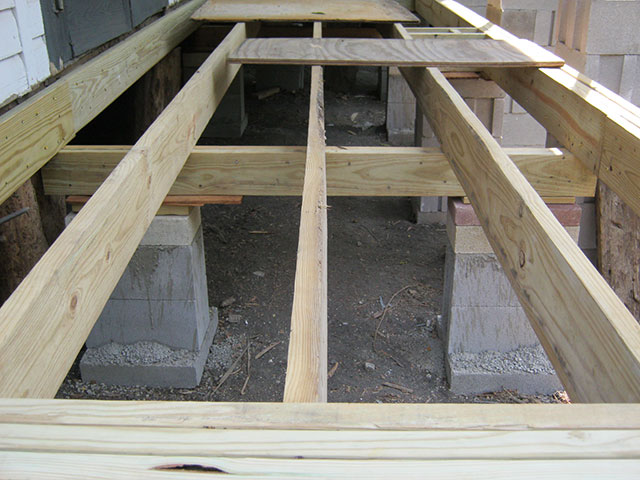
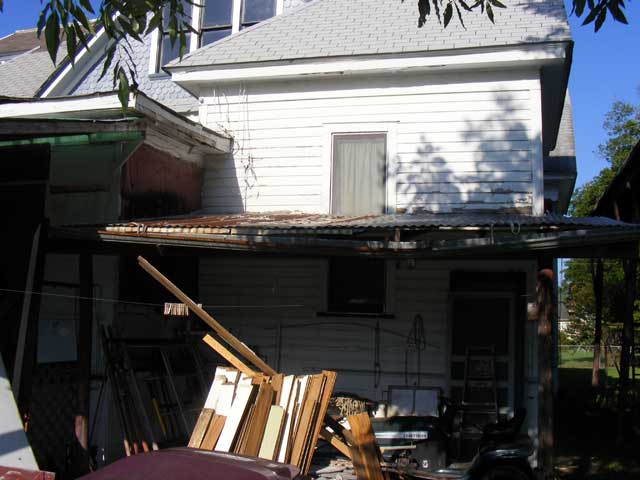
To this:
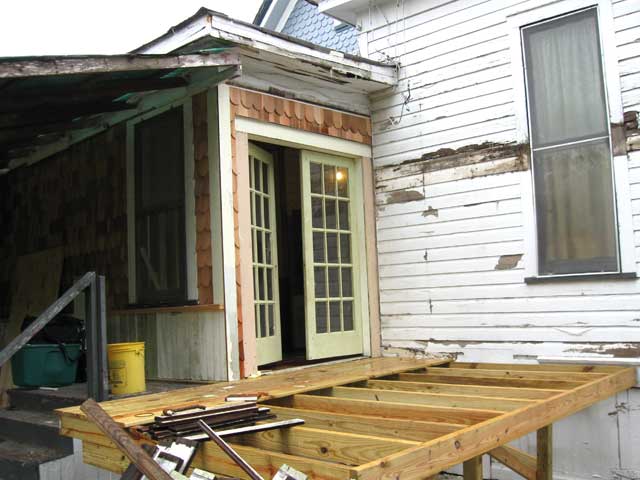
To this:
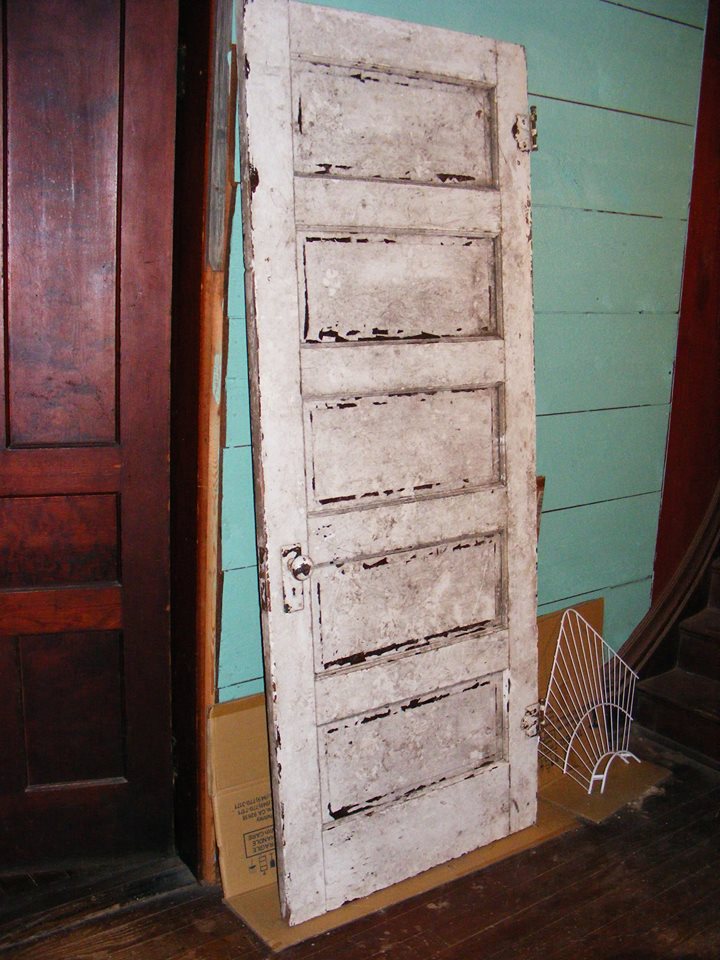
Problem was, despite stripping and refinishing these doors with quality exterior oil-primer and paint, along with another coat within a couple years, they simply could not hold up to the weather.
They are literally falling apart.
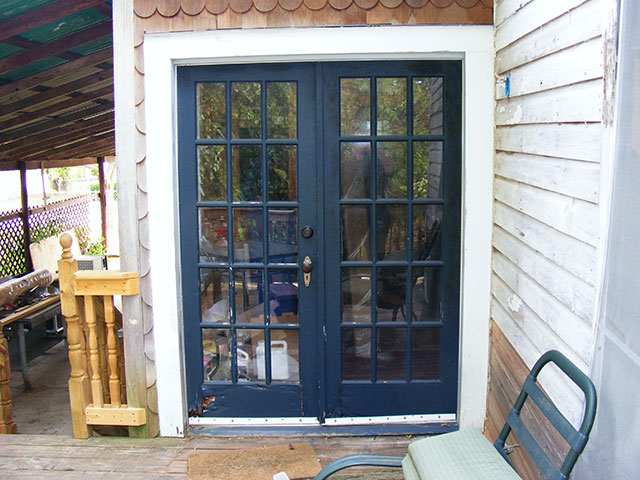
Dying French door…it is not long for this world.
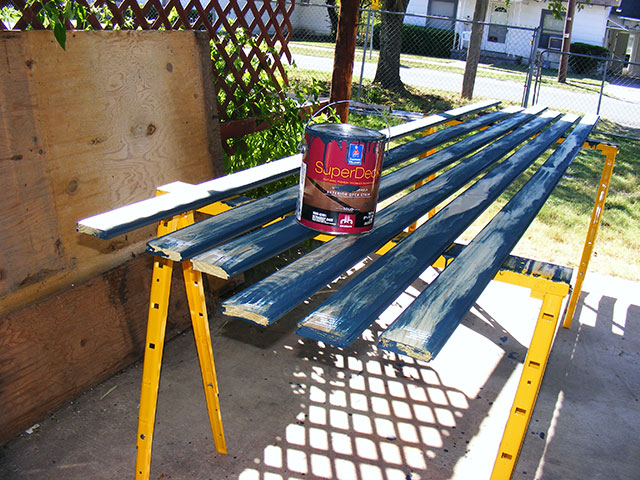
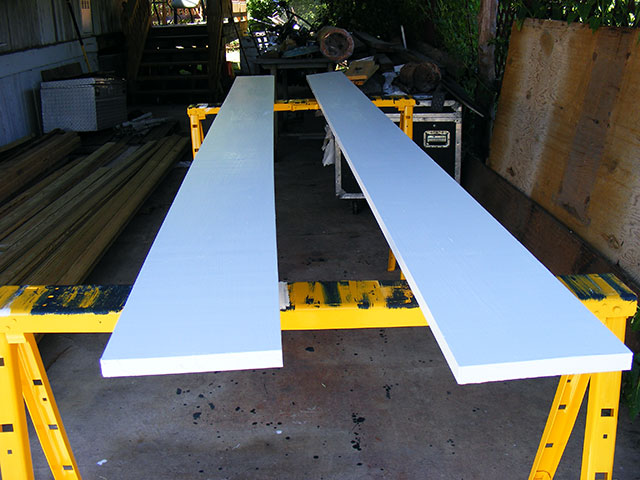
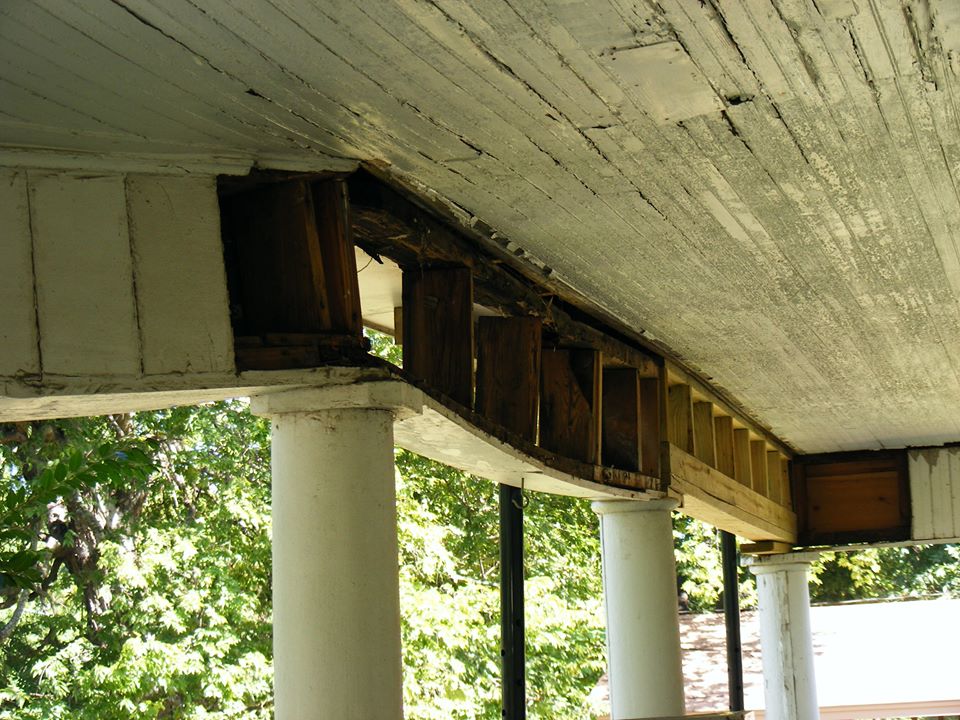
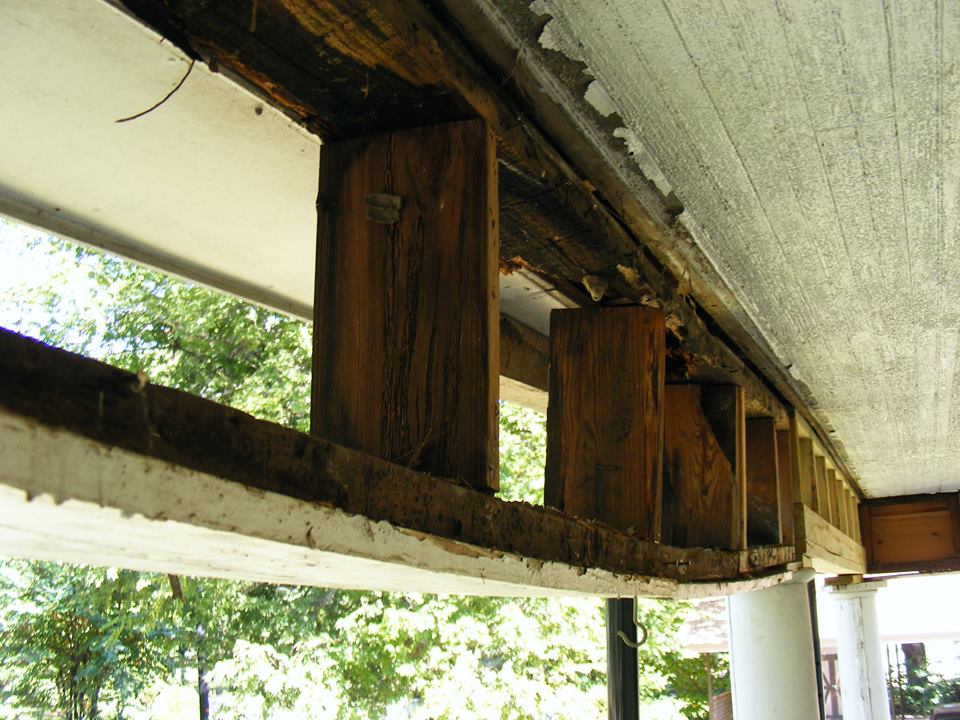
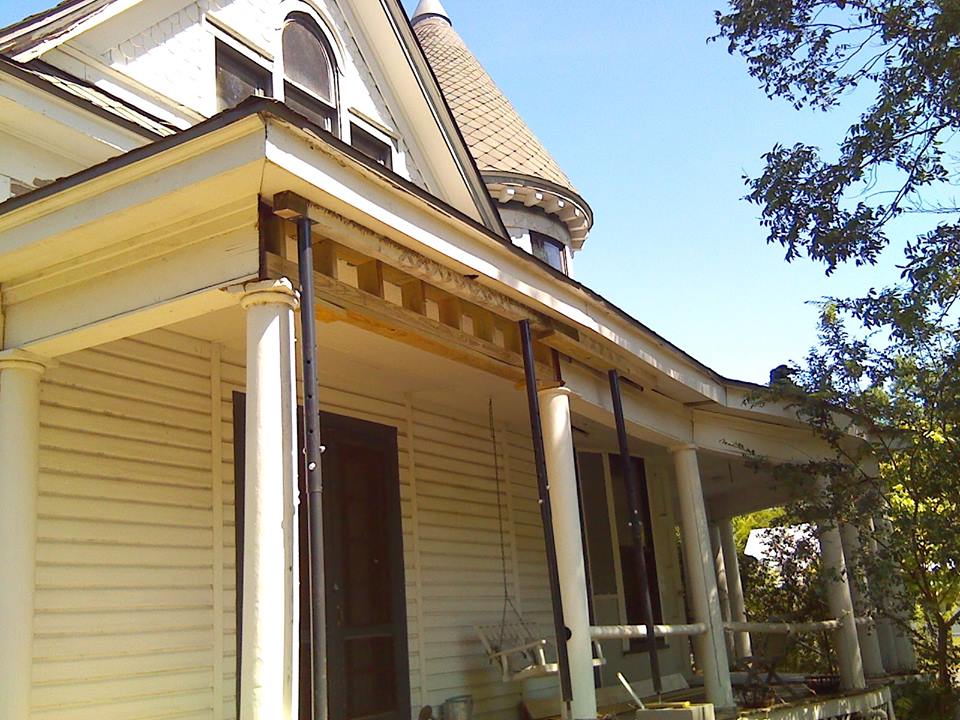
Since you may be aware, when it comes to Old House things…that everything is connected, you’ll probably understand that it became absolutely critical that I replace these doors immediately after I completed the roof, which started me down the portal of porch railing hell…front AND rear…
Anyway, I already did the doors once…I hate doing things a second time…and I’m determined there will not be a third.
So…we did what we should have done in the first place…we ordered Serious Door to fit this space.
It came in this week…along with some of my replacement columns for the front porch…so…this, my friends, is what’s known as a “Truck-load of work”.
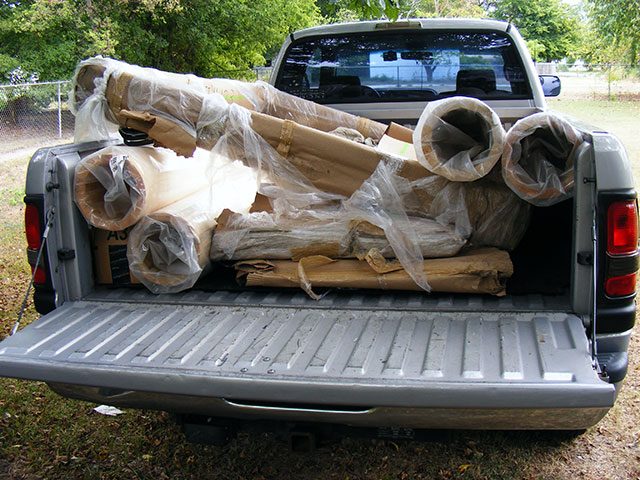
Truck-load of work. The contents are worth more than the truck that brought them here.
So, yep. Serious Door is Serious.
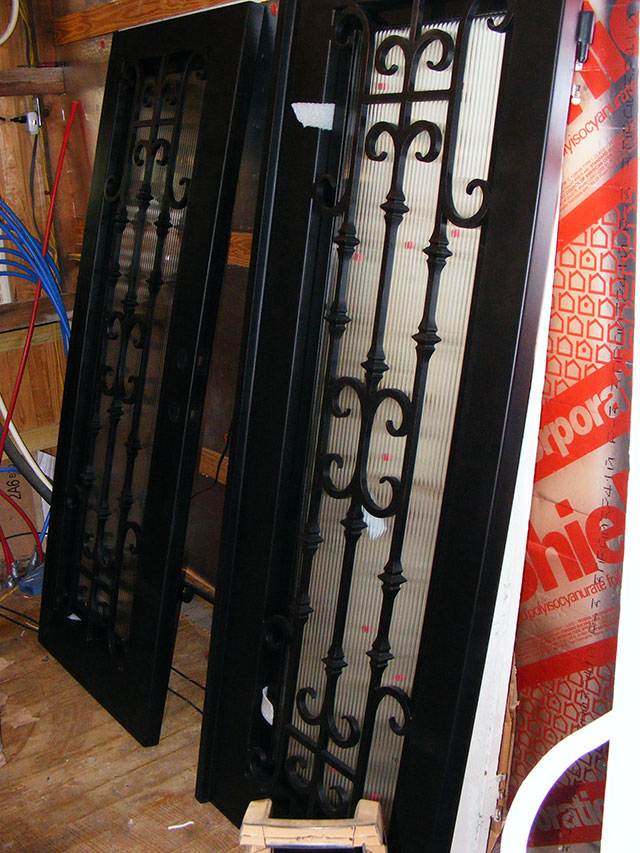
Serious Doors
Serious Door is manufactured from only three materials:
1) The finest unobtanium available.
2) Hypercompressed $100 bills.
3) The core material of a neutron star (gives them their weight).
Made in Texas. Took twelve weeks. I pawned Rhode Island to pay the bill (just slightly under the GNP of a small nation).
Serious door is serious. Iron door. Iron frame. All welded construction. Fluted E-rated glass. Ball-bearing hinges, Etc etc etc.
When installed, this entryway may just take my truck’s nickname of “Big Iron”…as I think they weigh just about as much…and I’m sure they are worth more…
Serious Door Glass
Serious Door is not black…it is an oiled-bronze/copper color. Supposed to be a lifetime maintenance free finish.
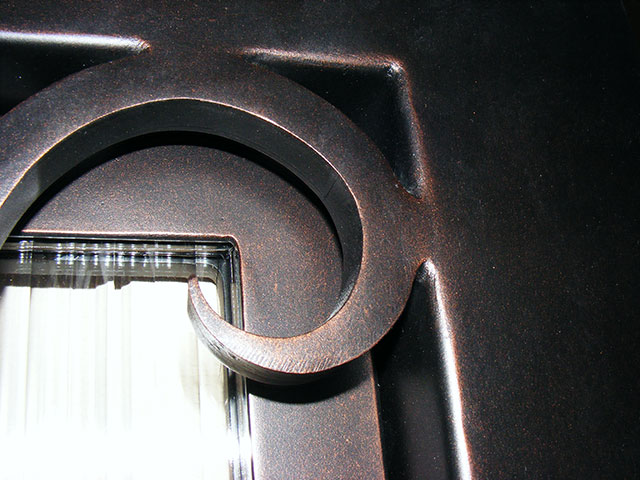
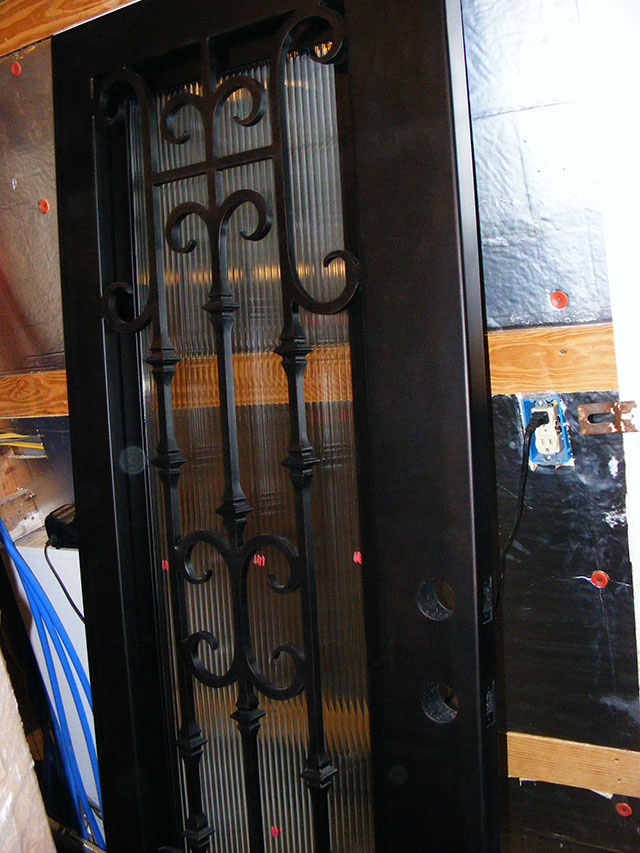
Serious Detail
Serious Door, of course, has an all welded, heavy steel door frame.
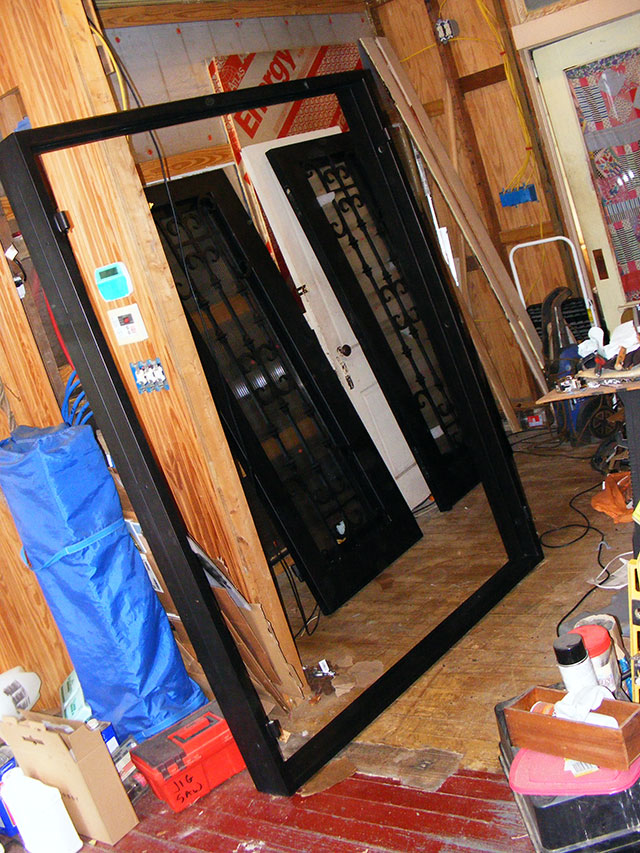
Serious Door Frame
Welded Pin and barrel hinges.
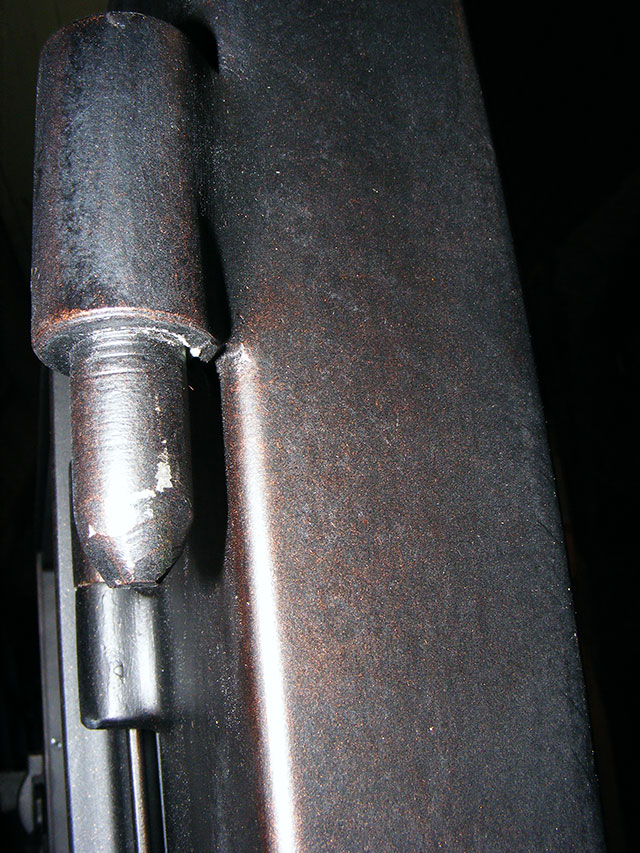
Pin and barrel hinge top/male.
Ever seen a residential entry door with zerk fittings?

Pin and barrel bottom/female.
Initial impression on picking up Serious Door from the lumber yard was that for something of that weight and cost, it was not particularly well wrapped.
I told the guys I was concerned about dings/damage but didn’t want to unwrap it to inspect before transport. They indicated that it wouldn’t be a problem, but if I found damage it would be taken care of.
Having spent the better part of two hours de-packaging it, I’ve revised my estimate to “moderately well wrapped.”

Moderately well wrapped.
I also decided that other than the glass…it could have been not wrapped at all and been just fine.
You don’t damage Serious Door…Serious Door damages you.
I’m guessing the doors weigh in at about 250 pounds each…and another couple hundred for the frame…and I’m not exaggerating when I say they are worth more than the truck that brought them here.
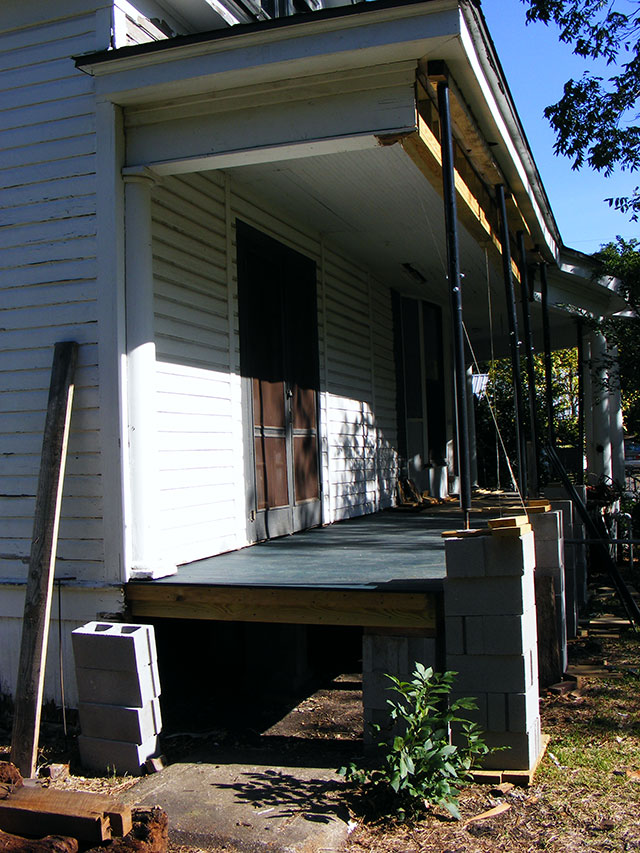
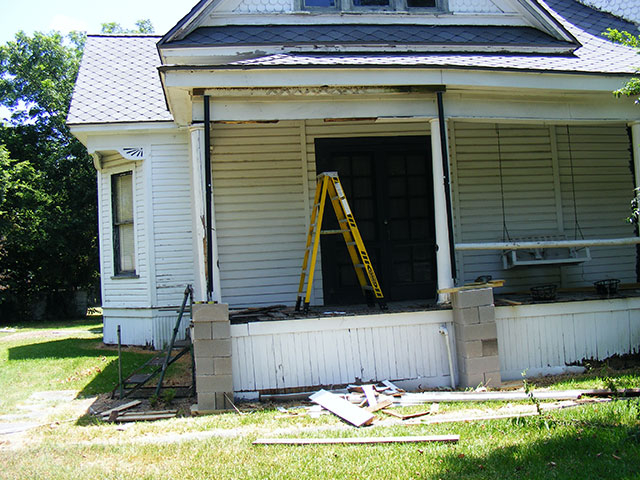
Installation on these will begin…well…I don’t know. I’m in the throes of the front porch project…but the French doors have surrendered as French doors are want to do…and this will enforce a deadline to deploy Serious Door.
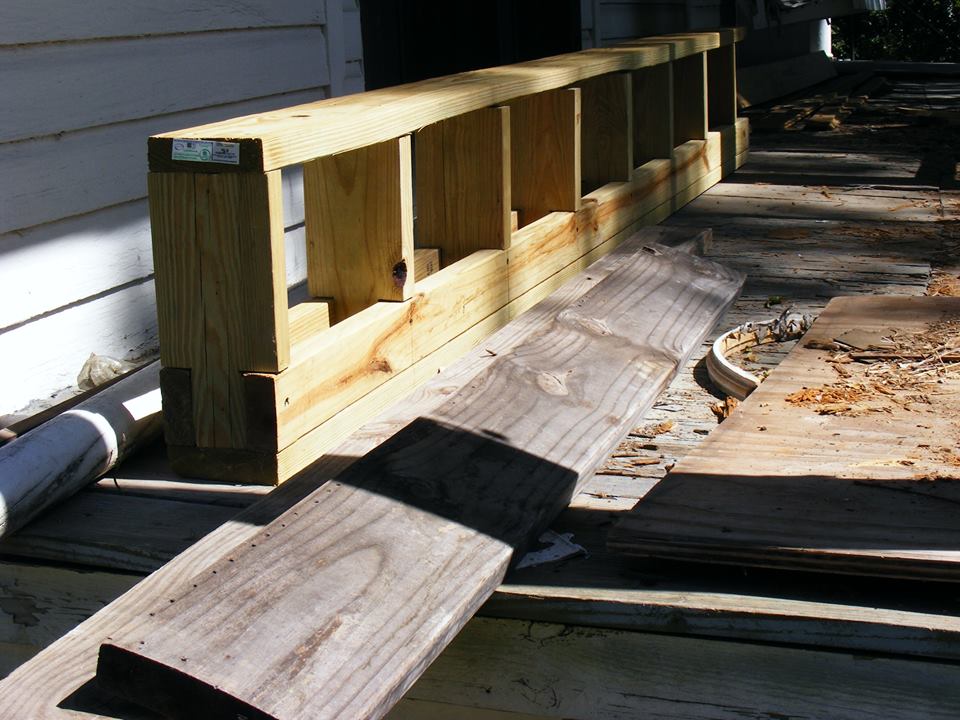
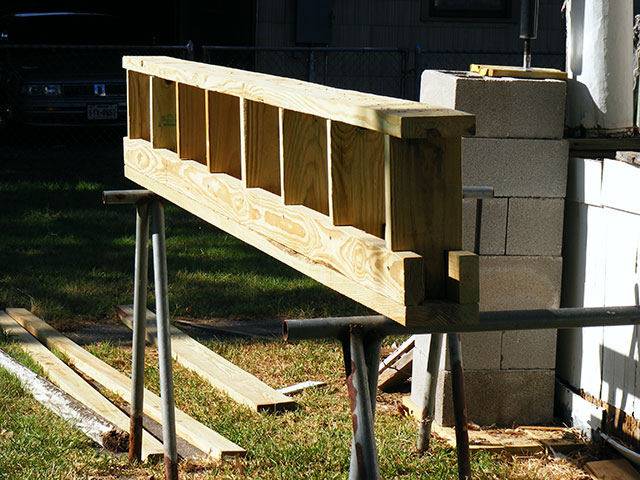
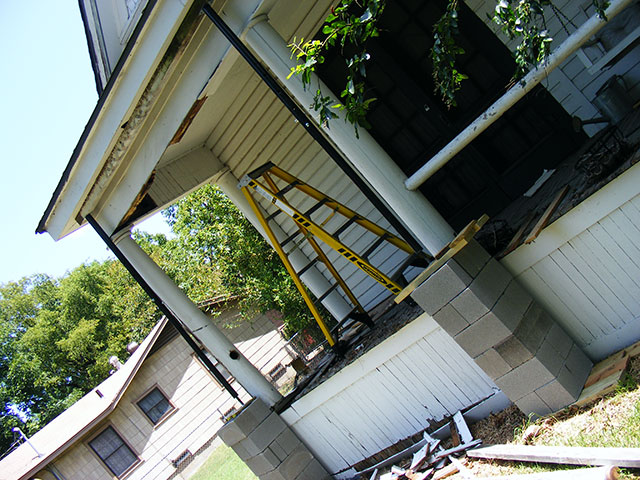
Oh, and speaking of front porch…
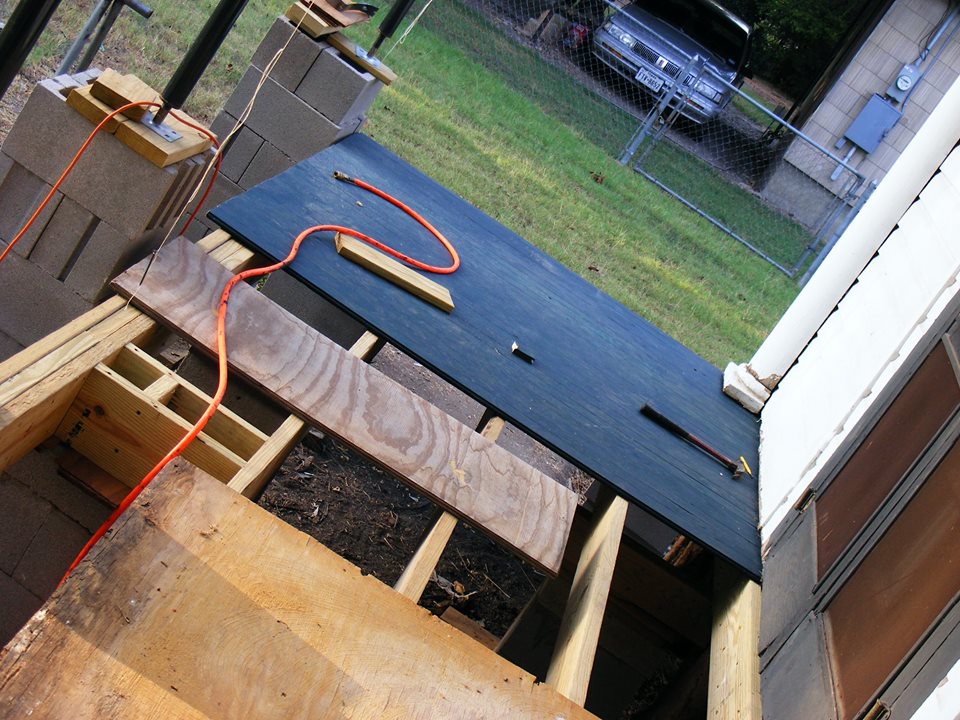
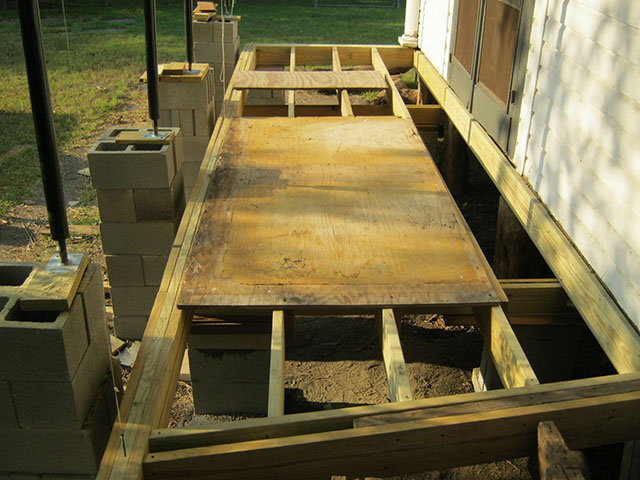
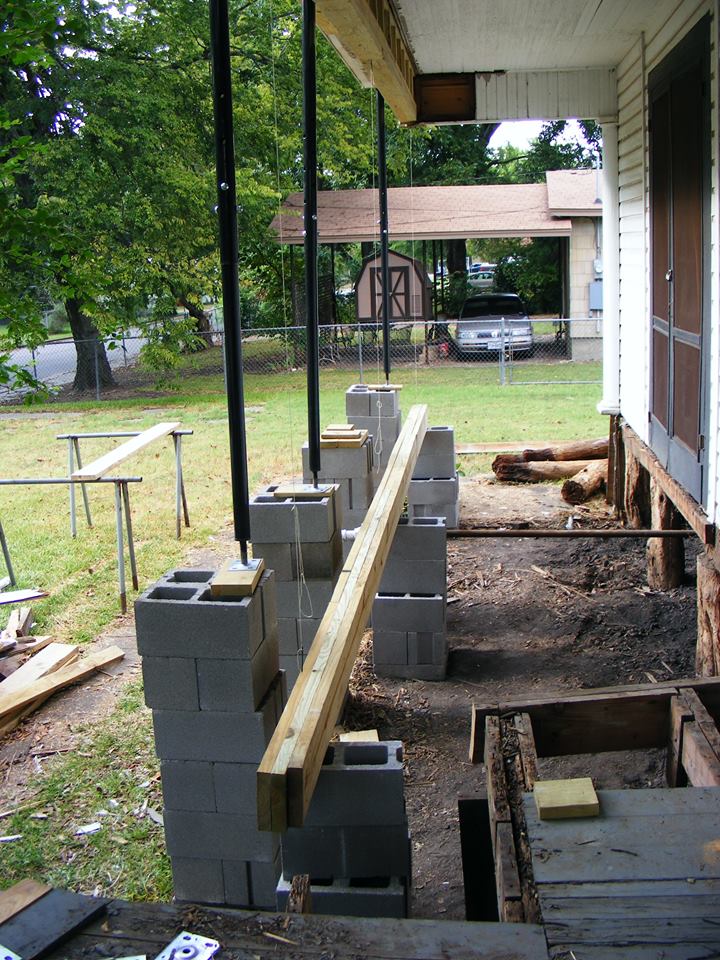
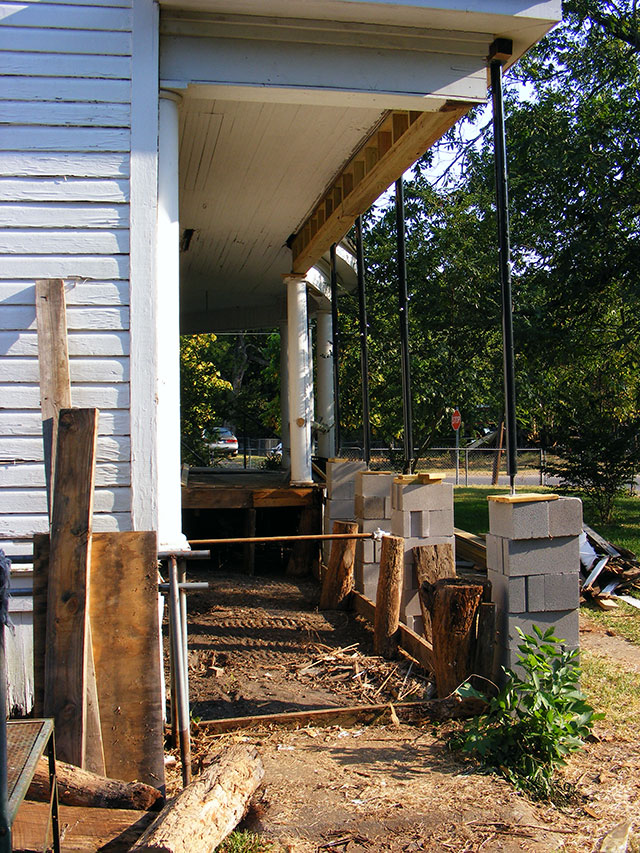
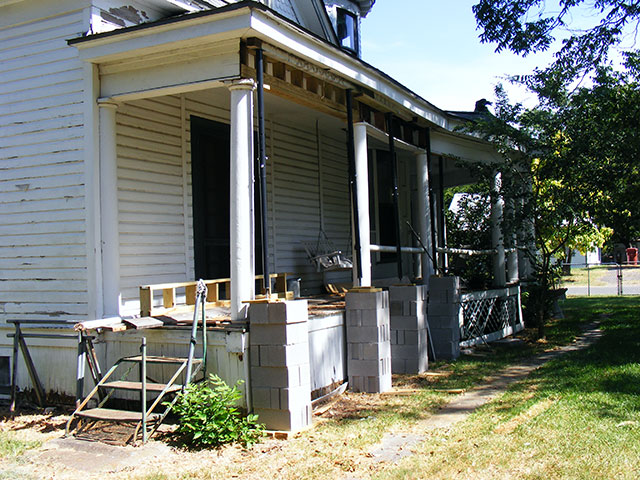
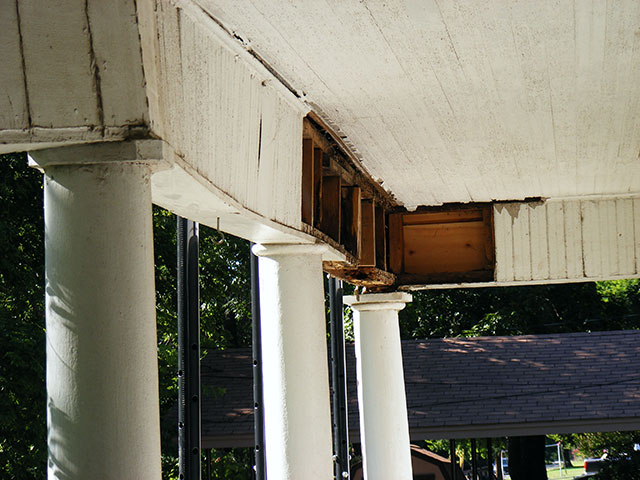
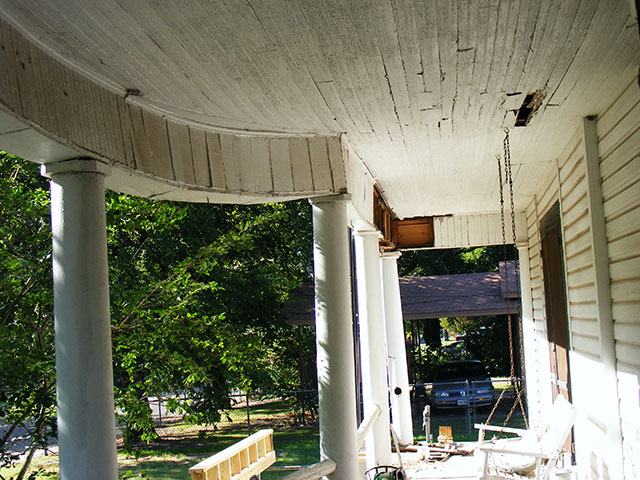
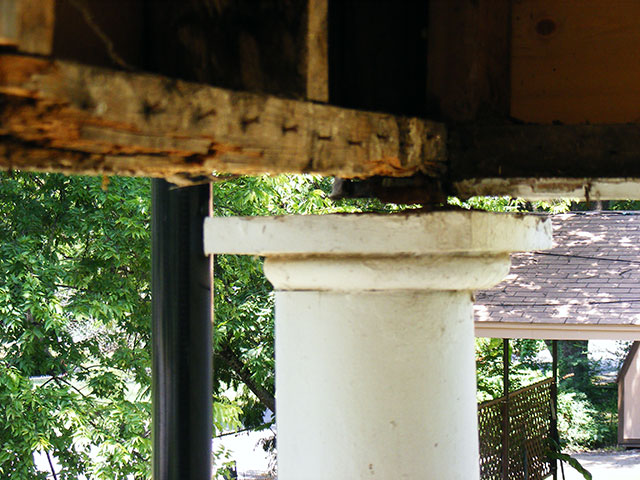
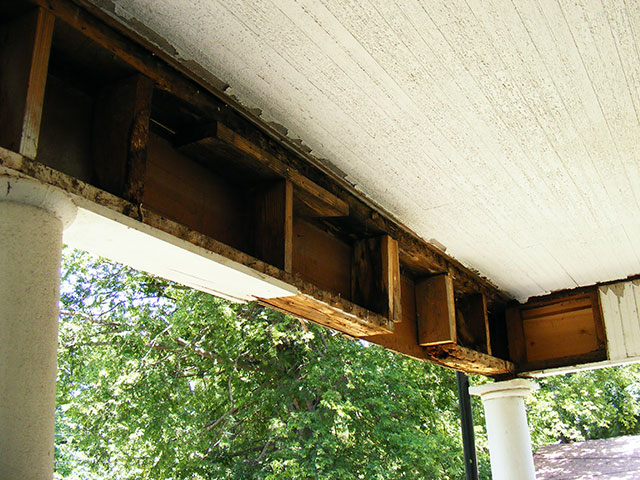
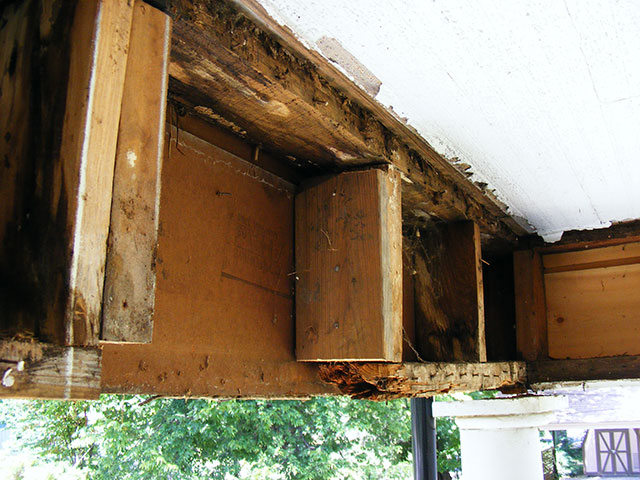
I got the trim installed on the bottom of the box beam, and the entire thing leveled up. The numbers are dead-on…all the way across to the curved section (a separate project). I am now ready to install the first two columns and the under-pinning.
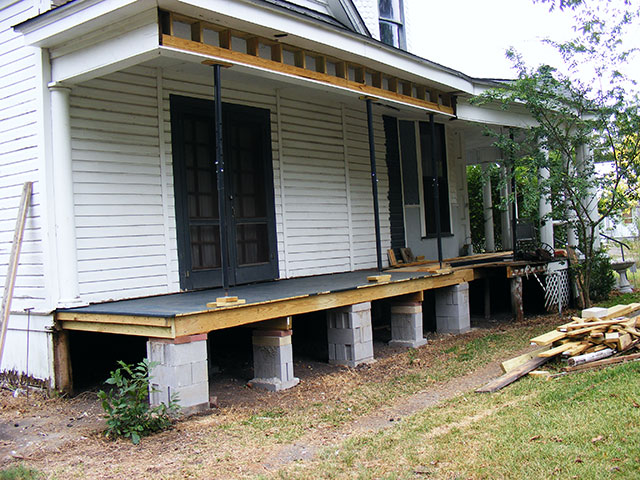
Ready for columns
So, of course, I was missing some critical pieces.
More later!
Oh, and ps: Sorry Rhode Island, I’ve no intention of getting you out of pawn…tough break!