Day 2…sort of. It’s the middle of the night and I can’t sleep. The uncharacteristic anxiety and missing my wife have combined to make rest elusive.
That’s okay though…I had homework!
They had brought me The Devil’s Horns…and I had to give them back.
The Devil’s Horns
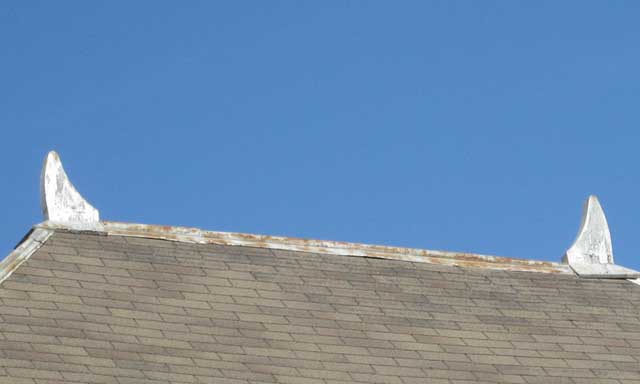
One of the first things they did was remove Cuernos del diablo or ‘The Devil’s Horns’ from the house and carefully bring them down to me so I could repair them. It was important to us that we preserve the distinct features of the house. The original roof was cedar shake…and the ridges, particularly where several meet…were difficult to cap with shingles. The solution was usually a metal cap, but as in most things Victorian…when they needed something functional, they often said something like, “Hey! It may as well be interesting too!”
As with most things high up…the scale of the roof was misleading. They are bigger than most expect…and stand just over two feet tall.
They stand just over two feet tall.
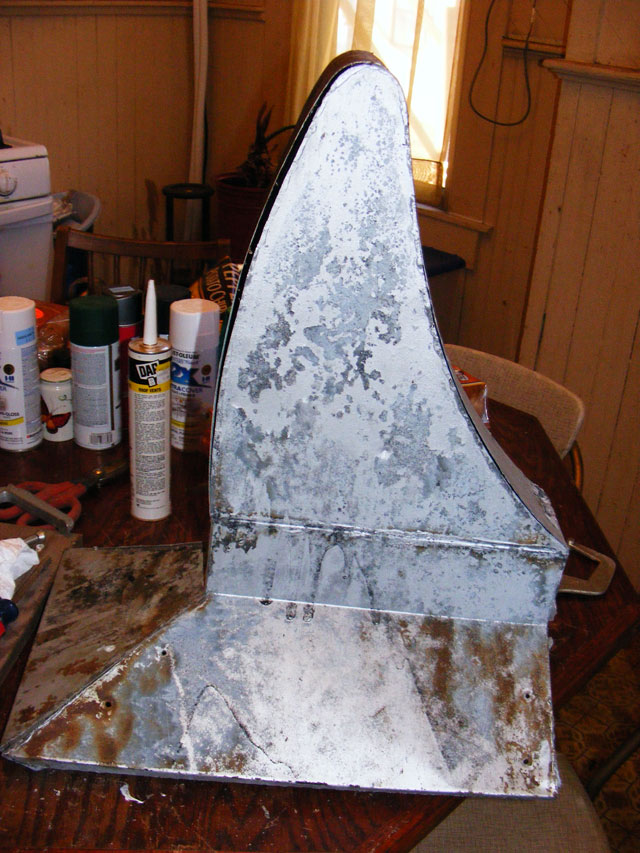
A hundred-fifteen years of high winds, hail, and Texas weather had taken their toll. Many of the seams were cracked or broken and parts of the internal structure were rusted away.
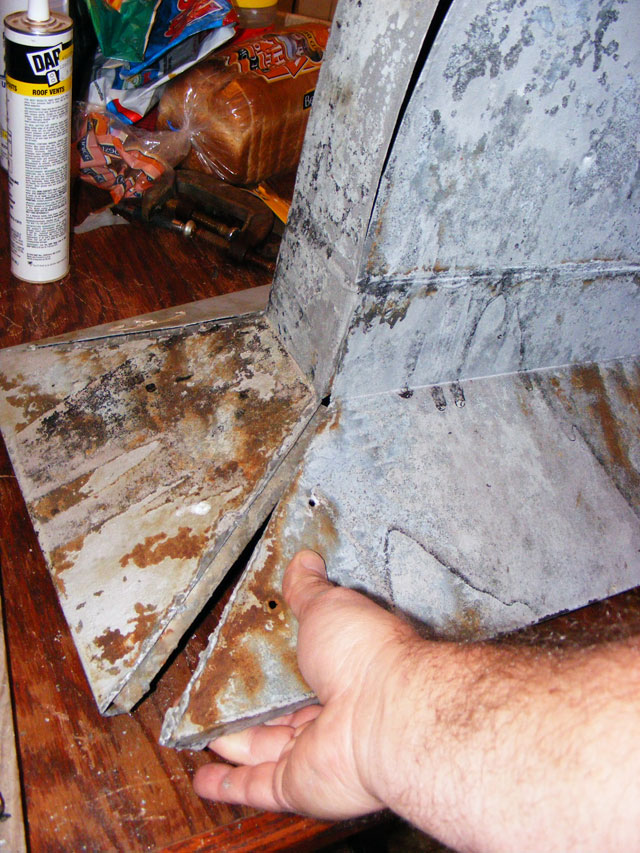
Cracked joints
An additional difficulty…at some point they had been painted with a coat of what I believe is coal-tar epoxy…a truly tenacious substance usually reserved for old, ugly steel boats.
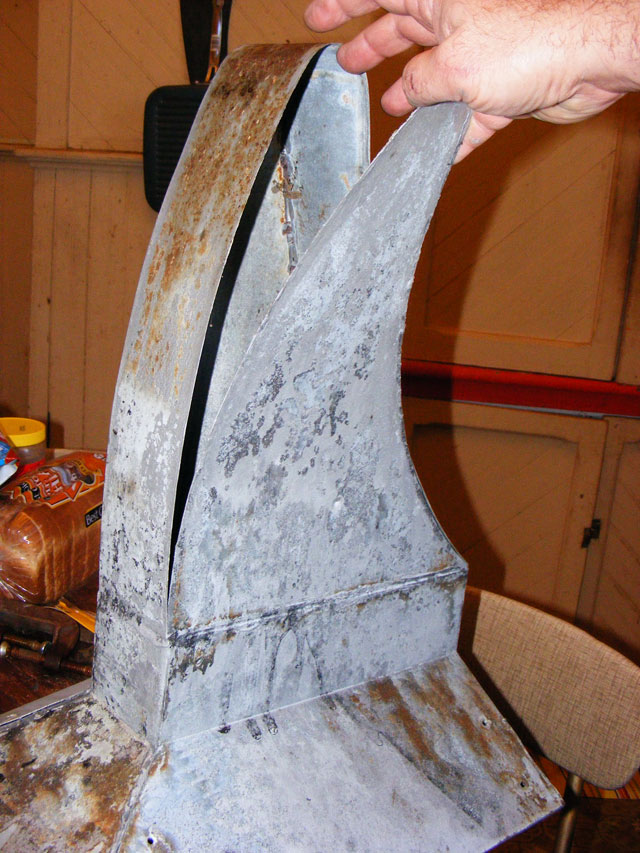
Coming Apart
Originally constructed of 50/50 soldered, galvanized sheet-metal, restoring them in short order presented a significant challenge.
To re-solder them they would need to be completely cleaned or the solder wouldn’t flow or hold. TIG welding might be appropriate, but the joints would have still to be thoroughly cleaned and the heat of the welding would melt the good solder joints and the entire thing would come apart. The rust on parts of the thing would also create problems.
Coal-tar epoxy is impervious to chemical strippers, and can’t be ground/sanded off as it rapidly clogs abrasives. The Horns were too thin for sand-blasting as well. I could probably “media blast” them…something like walnut shells works well on sheet metal…but there was no way I could find a shop that could do that sort of thing in the time I had. Expense was also an issue…I expect any sheet metal shop I went to would just want to toss them and start from scratch…and that would take many hours (and more $$$) of work.
I elected to create brackets out of galvanized sheet to go on the inside spanning the various joints, and then used sheet metal screws to put the things back together. Joints were sealed with butyl rubber sealant before being screwed together. I then ground to the metal and bondo’d the rusted areas, knocked out the hail dents with a block and ball-peen and a LOT of patience (and more than a little swearing), and then “cold-galvanized” any exposed metal.

Repaired Devil’s Horn
About 5 coats of high-end paint followed, inside and out. The result was a clean look and solid, corrosion-protected structure. They should be fine for another 115 years…with maybe a quick paint job now and then.
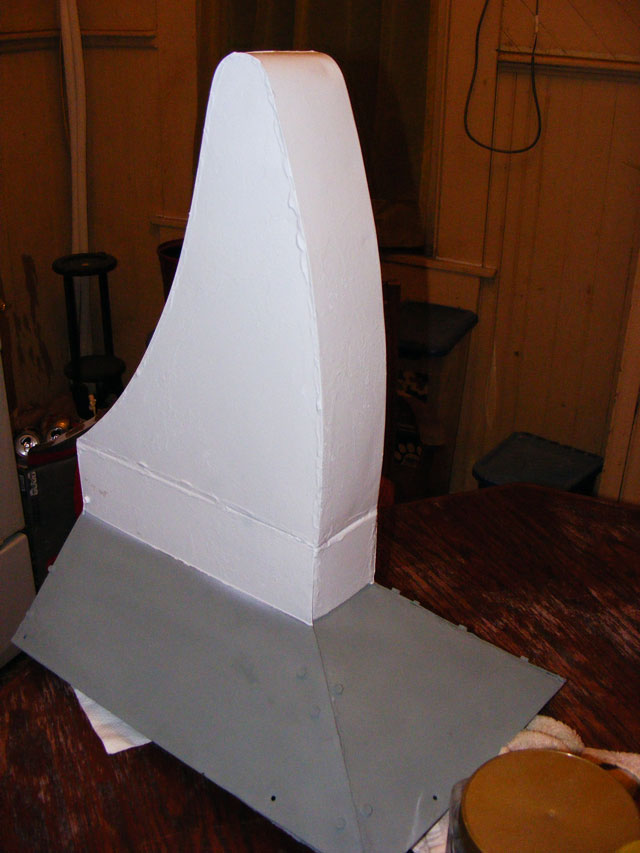
Not too bad!
All in all…there’s about 8-10 hours work (the final coats of paint the next night) in these things. Fitting the brackets was finicky work, but I expect the joints are stronger then when these were new (they were never a “high-end” finish piece of work…since the closest observer is usually more than 40 feet away from them).
If they fall apart in 50 years…there’s always the option of having them completely broken down and resoldered…or re-created from scratch.
Satisfied with my night’s work, I started the coffee and then laid down for a couple hours rest. the crew would be back soon.