
Okay, on the agenda this weekend, box in the box beam and install a couple columns.
Sounds simple doesn’t it?
It’s not. The sheer amount of steps required in prepping a column take up a lot of time…fiddly work…but important to get right for a couple reasons…one is the longevity of the column, the other is, of course, so it will actually FIT.
Measure 34 times, cut twice.
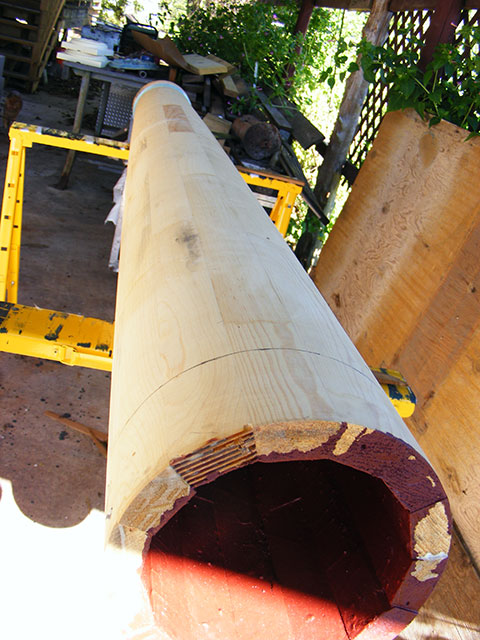
These things are expensive…and have to be cut to length…perfectly square and perfect length.
Both ends require a cut (square off the top and cut extra off bottom).
So…desired height, subtract the column base…and the header…and the cap…and take a saw to your nice expensive column.
Heard the adage, “Measure twice, cut once?”
Well, it doesn’t apply here. It’s more like, “Measure thirty-seven times, calculate differences 42 times, make a mark, and repeat…till all results are the same 245 times in a row.”
Or something like that.
The math was actually pretty simple:
U + fucca + this + up = bigHonkin $$$
So…after measuring 842 times and doing the math at least…twice…it was time to take a hand-saw to my nice expensive piece of wood.
How confident am I? Well, I’m SO confident I actually cut the thing!
Of course, I only cut ONE of the things…there are THREE that should be this exact measurement.
Yeah, I’ll cut the other two AFTER I fit this one in place.
Chop chop! Weeee!
Harder than you’d think…whacking bits off that you know you can’t put back on.
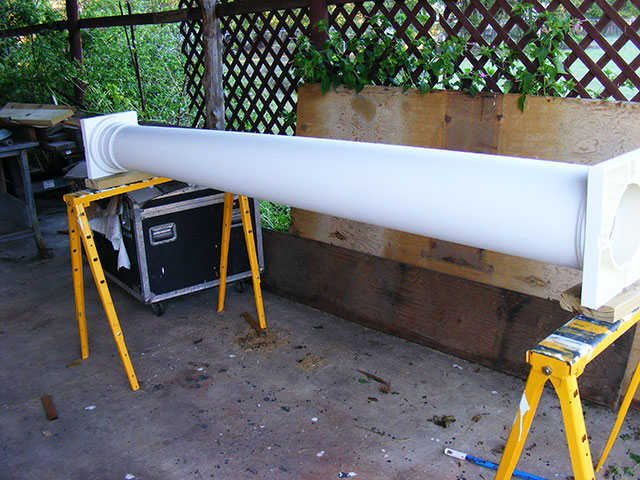
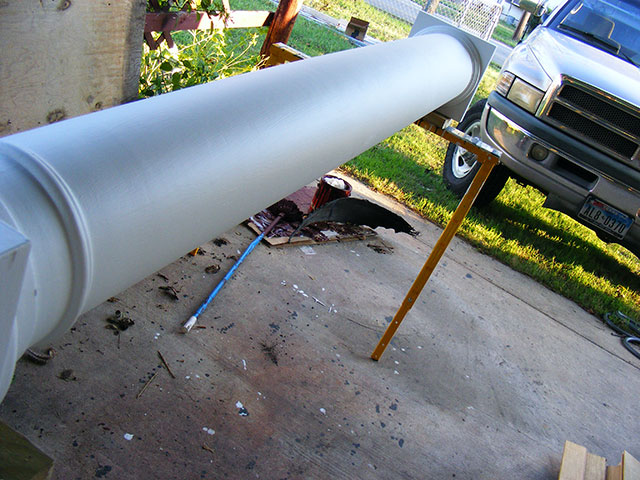
You may recall a couple weeks ago I slathered the insides of these things in the blood of my enemies…or some nasty old oil paint that will outlast the next ice age…whichever is more politically correct…well, now it was time to prime the outside. The column maker calls for two to three coats of a premium exterior primer, and I only intend on replacing these once in my lifetime so two to three coats it is! I mean, I’d hate to die an early death and have the coroner’s report say something like, “Column failed. Heart stopped. Patient’s last words, ‘Oh HELL no!’ ”
It’s actually kind of a pain…painting a cylinder…I elected to stuff a 2×4 through the middle and “hang” it on some sawhorses for easy access. Since I needed to paint the ends as well it was impractical to stand it up somewhere.

Kind of a pain, actually…painting a cylinder.
Between coats (drying time) I worked on boxing in the box beam that these columns support. I neglected to take pictures of this process, but suffice it to say, I took a piece of the “most expensive plywood ever” (3/4″ exterior grade, no voids, smooth one side), and subdivided it into the 13″ wide by 20ish foot long covering for the exterior of the box beam. This provides additional strength, and gets the covering to the thickness needed to match the existing details on the house. I then primed the exterior face and edges, and screwed it on up. I still need to fill the screw holes, add some trim and top coat the paint…but that’s coming after I get at least two of these columns in.
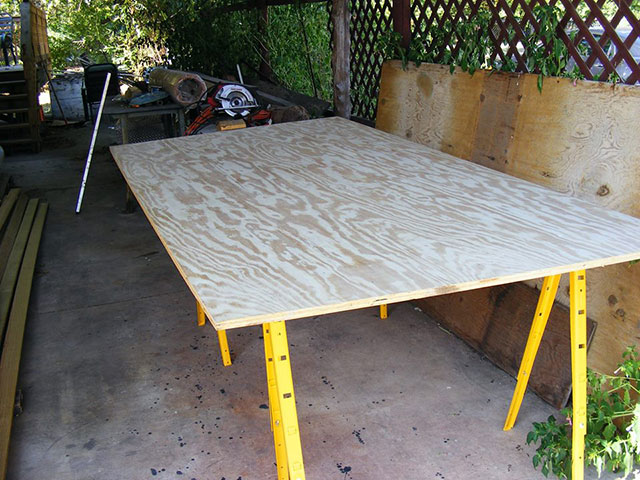
NOT a cheap chunk of plywood…turning it into “trim” makes my wallet hurt.
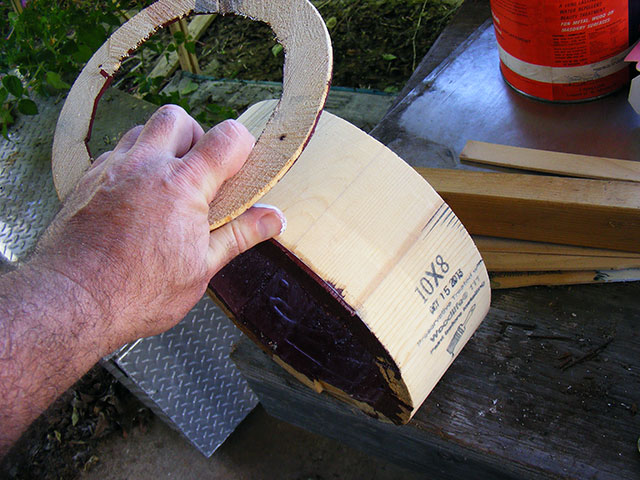
After several hours of chopping and priming and fretting and measuring stuff, it was time to install the column cap and base. Diligent squaring up of “stuffs” (again, kind of a pain on a cylinder), a coating of sealant, some carefully drilled pilot holes, and a few screws and taaDaaa! One column, ready for install.
Caps installed.
And THAT…my friends, is a pain in the ass…ur…rather…it is a
*deep breath*
Custom length, double-oil-paint interior-coated, triple-primer exterior-coated 10″ tapered column…cap and base (also primered) installed and the whole thing ready for installation and a top coat of paint.
*phew*
That is one solid pain in the ass…
And there’s only 11 more to go…
Well…only five of those are new (so far). I think I can salvage the six columns immediately adjacent to the porch steps (there are three right together on each side of the stairs), but we’ll see. I expect salvaging the existing ones will be more work than prepping a new one!
Oh…and does it fit? Well, that’s a cliff-hanger isn’t it?
Tune in for our next exciting episode of, “This things gonna fit if I have to use explosives.”
CUAgain,
Daniel Meyer
One Response to Column prep…part the first.