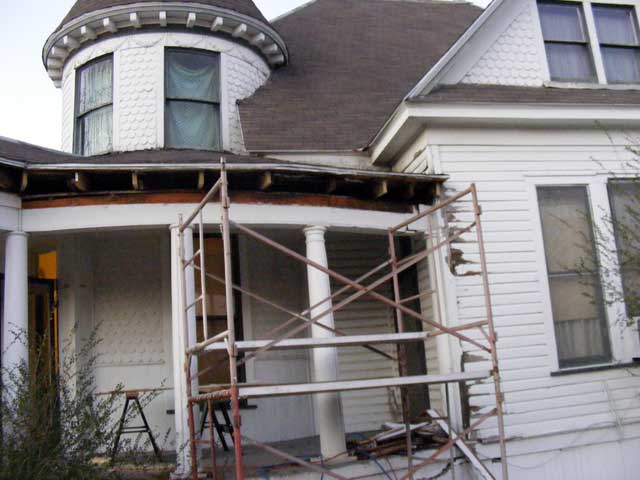
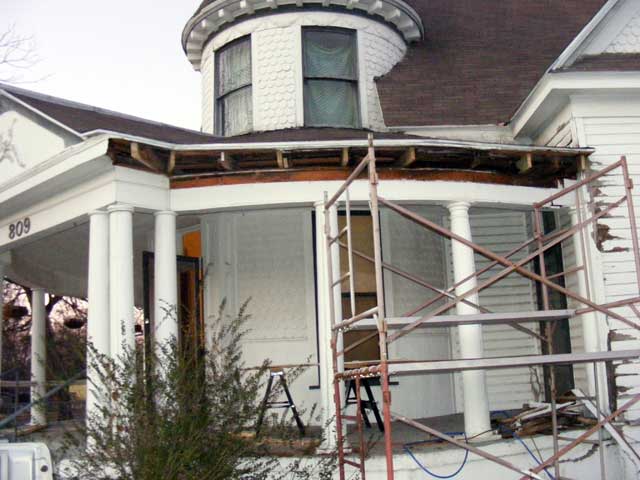
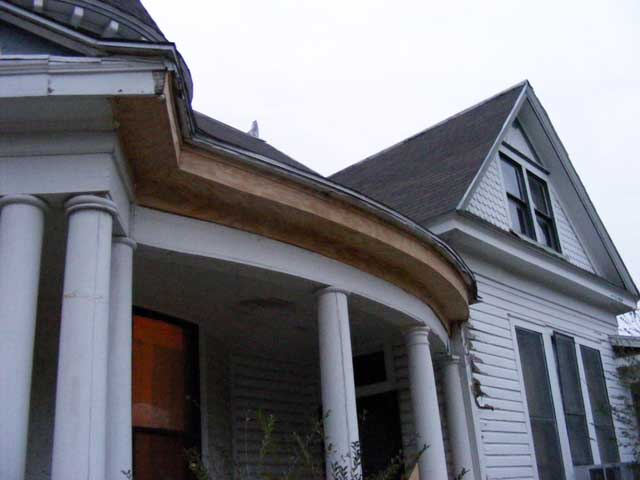
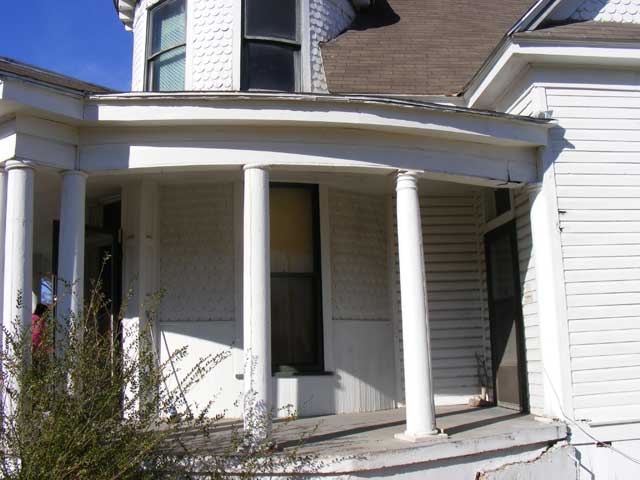
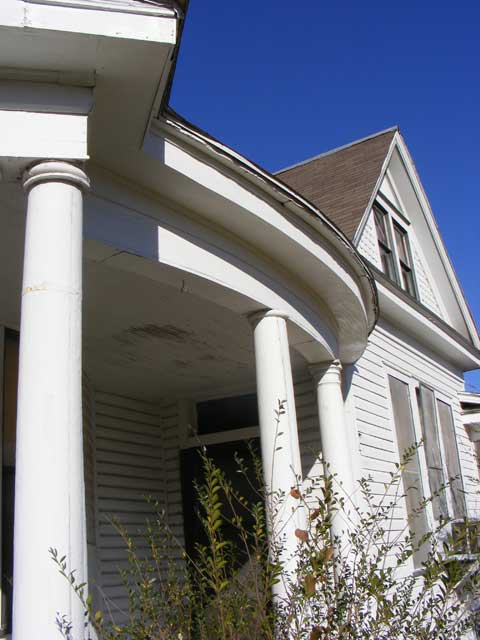
This was a project I was eager to tackle…simply because it’s the most obvious “blemish” on the house, AND it is causing further damage while it sits un-repaired.
This project has it all. Good food, good friends (Hi Mike!), an epic battle with mass quantities of hornets (I won), impressive (even for Texas) weather swings, mass destruction, and “boys with their toys” (I really do like cool tools).
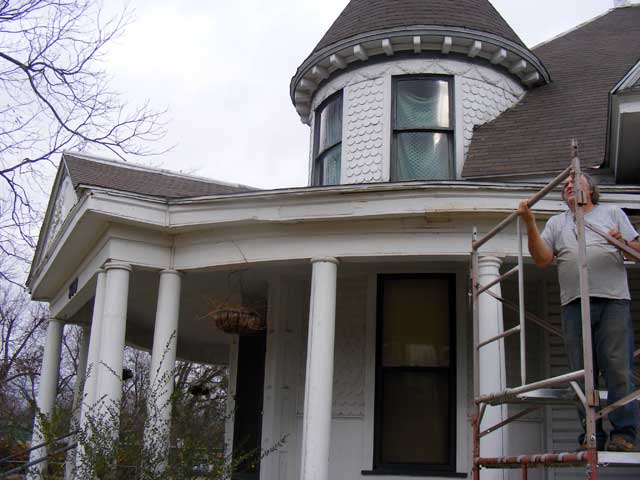
The short of it is, originally there were box/hidden gutters above the roof-line, in the eaves. Over the years leakage and inevitable deterioration significantly damaged the eaves and surrounding area. At some point, the problem gutters were roofed over and some work done to the eave at the porch.
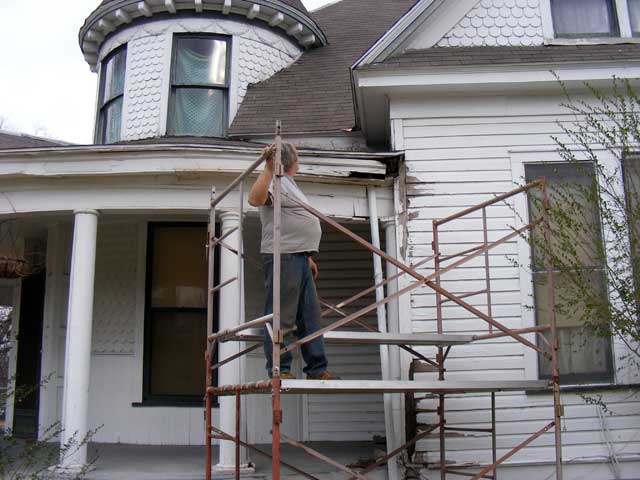
Unfortunately, the “lie” of that roof routes water from the top of the house to the corner (pictured below, my friend Mike is pointing at it). The problem is that the flashing is not correct there, allowing some water to get into the wall, and worse, even in a minor rain, water runs down the side of the house.
The previous repair of the eave also had some issues…overlaps of wood were not quite right, allowing some water penetration and “wicking”. Over the long term, this always leads to damage, even with minor amounts of water.
After all these years, my friend Mike still hasn’t learned to say, “Ur, I’ll be out of town.” when I ask, “What are you doing this weekend?” so he got shanghaied to help with this project.
Actually, he volunteered willingly…and despite me wearing him (and myself) completely out, I think he had fun. I couldn’t have done it without him.
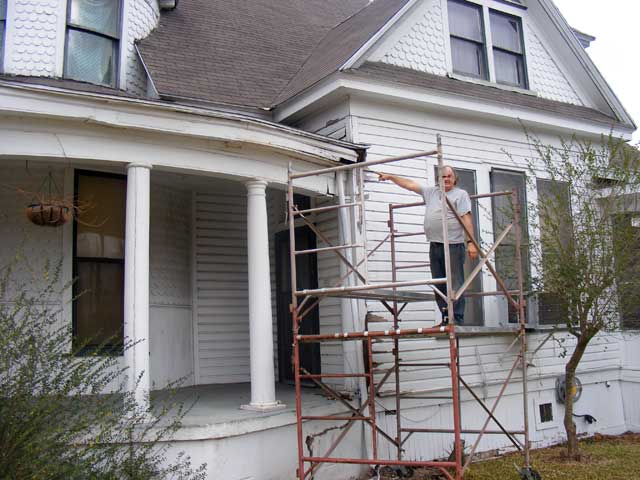
My friend Mike...I think he is suggesting we buy about 50 cans of Great Stuff foam and call it a day
One thing you’ll learn working on buildings…any buildings, not just old ones…is that if you can see damage or a problem, that is only the surface. It will run much deeper than you can see.
The eave needs to be taken apart all the way to the front of the house. Something over 16 feet of it.
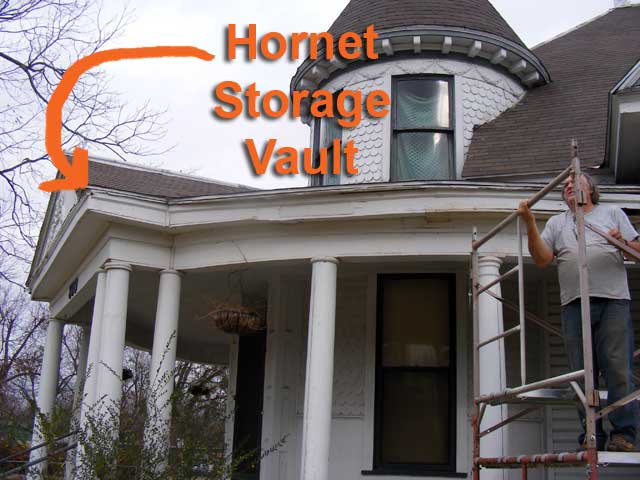
By the way, always be sure to properly store your hornets for the winter.
Also note, despite the winter, hornets and wasps can be active at any time in Texas. As a for instance, it was 80 degrees as we started this project. 80 degrees in January! Gotta love those Texas winters.
They are never quite where you expect them…really…they could have been in the open/damaged eave area, but were not. There was a small hole in the very corner of the front eave, and the hornets had moved in. I expect they’ve been there for several years, as once we got it apart we found a massive amount of very large nests in there.
Fortunately for us, We had spotted a few of the black and red nasties entering this hole a couple weeks before. I chose a very cold day when I knew they’d all be home, AND they would be completely dormant, and I climbed a ladder and emptied an entire can of hornet/wasp killer into the little hole. It has fume and residual action so I knew that even if I wasn’t hitting the nest directly, it would “do the deed”.
I examined the problem area on a few other days when it was warm enough and found no activity.
So…On to the destruction!
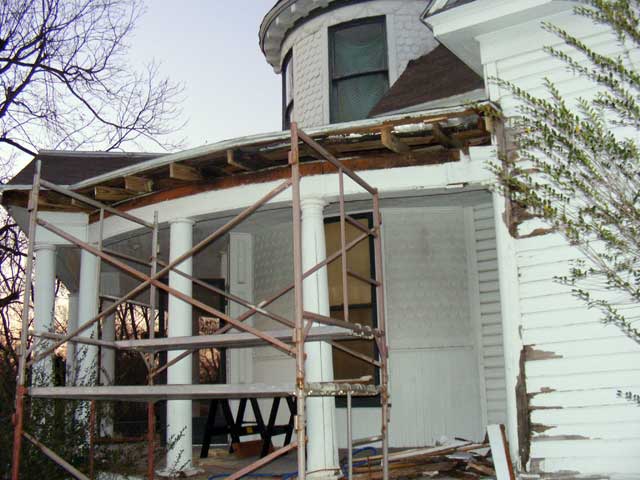
There’s no help for it…you’ve just got to get started. It is always with some reluctance that I take a crowbar to a house…sometimes I worry that I’ll never get to a stopping point…I’ll be left standing there looking at nothing but a pile of sticks and with no idea how to put it back together again, but it has to be done. Between the water and the squirrels, this eave is significantly damaged.
“Shyness” or intimidation keep many very necessary home repairs from ever being attempted. Occasionally, I look at this house and feel a bit intimidated…but “shyness” when attacking a project is one issue I so totally don’t have.
A few hours work…and mass destruction is achieved. Most of this was done with a single crowbar (a Stanley Wonderbar, a truly superb tool of mass destruction). NONE of the removed material is salvageable, in fact, most of it came out in pieces so small that it was not even useful for figuring out how to cut/measure the replacement parts.
There’s not a straight line on this thing…this is going to be “interesting” to put back together.
It was 80 degrees, sunny, breezy, and balmy when we took this apart. A front came through early the next morning, and we were suddenly faced with overcast and freezing temperatures, as well as a significant north wind for the “put it back together” part.
A 50 degree temperature swing. It happened in a matter of hours. Gotta love those Texas winters, yes?
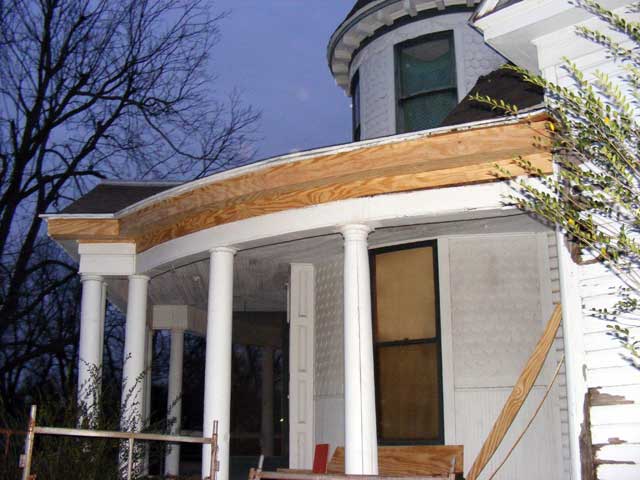
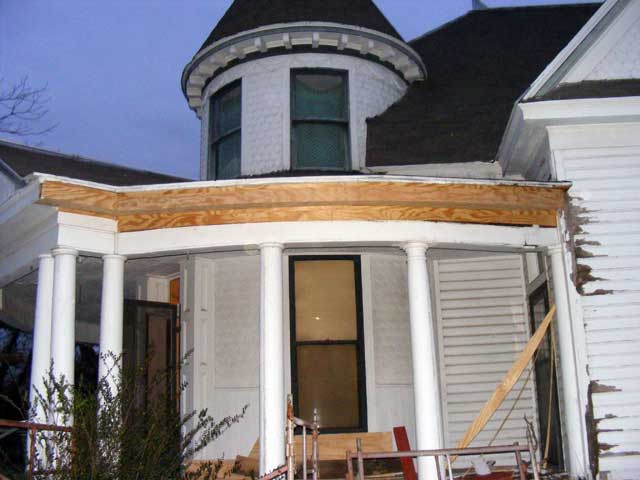
Well, 100 bucks worth of lumber, 1000 bucks worth of tools. We needed two nail-guns (a framer and a finisher), three saws (table saw, miter/cross-cut saw, and the standard skill saw). Also, the scaffold was invaluable. I recommend you get you a few sets if you own an old house and expect to do the work on it.
The curved undersides were a joy to cut. Gad.
Looks pretty good, yes?
More work will be required in the future for the “box” part of the porch support that holds up this eave, but it can wait and this project gets us “weatherproof” again and most importantly, prevents further damage from occurring.
Because the weather turned on us, and the fact that we just flat wore ourselves slap out on this project, we did not get the roof re-flashed, and we did not get the new area primed.
That’s a job for next weekend if the weather will allow. Also, we will be addressing the damage to the side of the house.
Update: 1/11/09
I re-flashed the roof this weekend so that the water run off is thrown clear instead of running down the side of the house. Also, the siding in the problem area had been caulked on the bottom seam, which actually makes things worse as any water that does get in the edges can’t get out again and instead runs along the siding inside the wall and causes further problems. I removed the caulk and scraped all the bad paint off…for the most part, all the way to the window. More work will be needed as we prep for paint, but that’s probably going to wait for other projects. “Weather tight” or “stopping further damage” is what we were after here.
There are a couple areas on the siding that need repair…Matching the siding pattern is not easy, so I’m going to attempt an epoxy wood repair on this. The kit is on it’s way. Also note, further repair is needed on the box below the eave…I will cover the hole so it’s bug free, but that repair is reserved for when we attack the porch ceiling. We’ll address both those issues under separate projects.
Now that the first coat of primer is on, I can fill any nail holes and caulk the seams. After the siding repair, it’ll get a second coat of primer and then a finish coat. We may delay that second coat/finish coat as we are changing up the base colors of the house and are not quite ready to paint the entire thing.
We’ll call this project done.
CUAgain,
Daniel Meyer

