Now that the Left-handed Fargle-snorker was back on the road again…there was no excuse left to keep us from getting to work.
Not that it was a bad excuse or anything…after all, when there is Fargle-snorkering to be done, ya really need the right tools to do it.
And whilst I had the right tool…since it had no brakes it was kind of hard to actually stop and work on anything.
Ah well. Fresh out of excuses…so here we go!
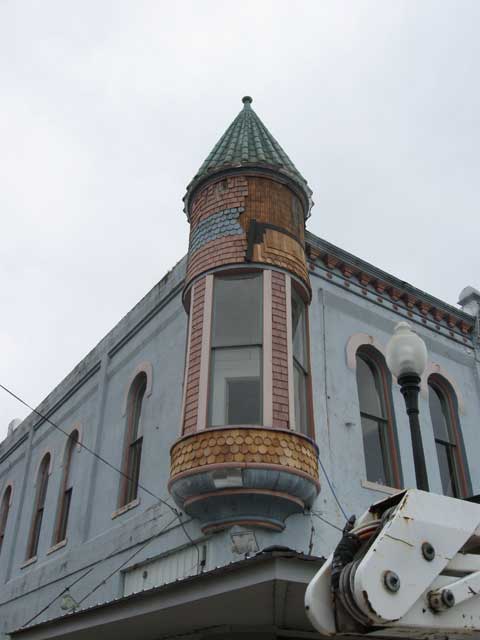
So, ya’ll may remember this tower:
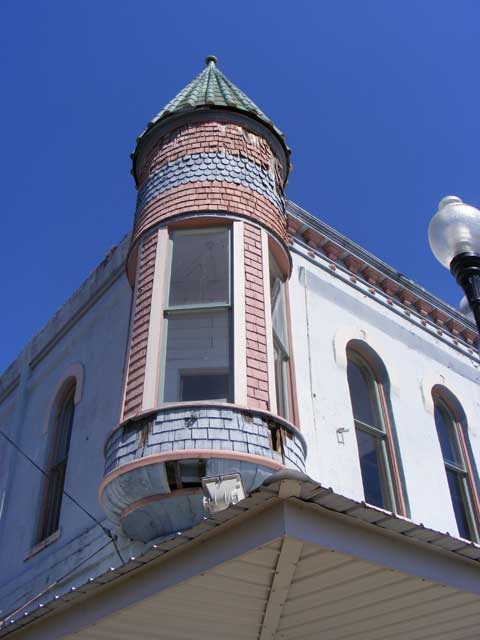
The tower before repairs
It’s attached to our historic commercial building we bought on the downtown square.
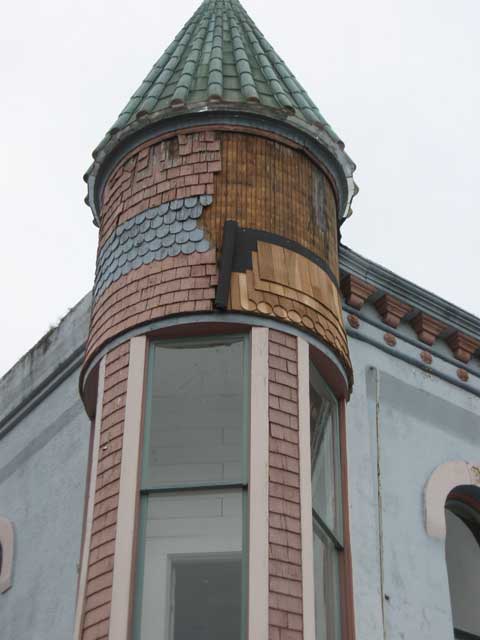
Obviously, it needs repair. For starters, it’s full of holes. Unless it’s a colander, most things full of holes need repair.
Also, the cedar shake siding is seriously weathered…some missing and much of the rest loose and falling off, there is missing trim, and birds and weather were freely making their way about the upper floor of the building.
A few weeks ago we did some repair…here we replaced some missing trim and removed some other dangerous (heavy and loose) trim from the top of the tower. We also started shingling the bottom part and finished that here.
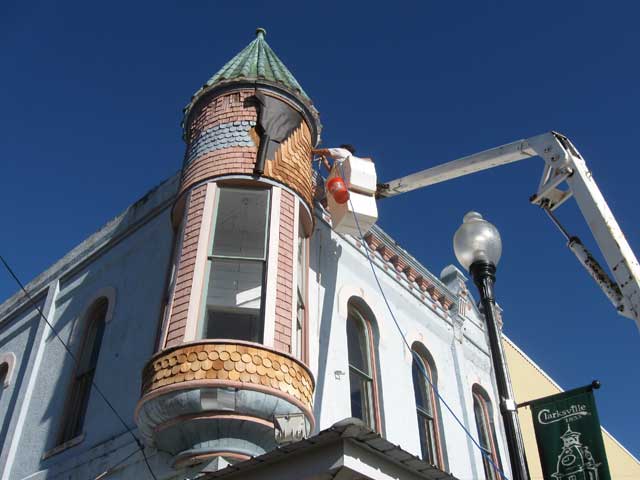
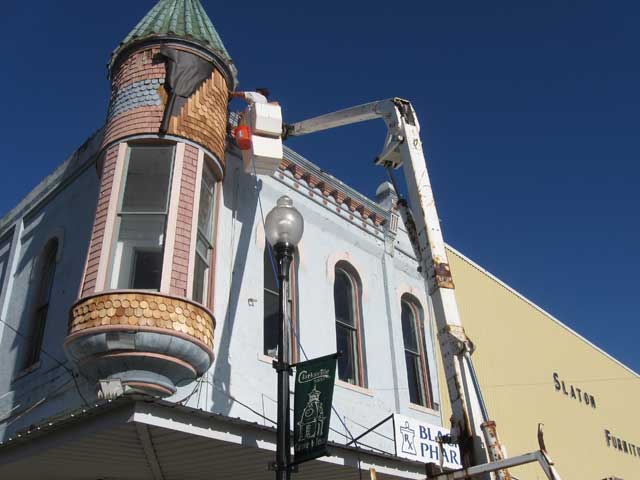
Anyway, step one…remove the old stuff:
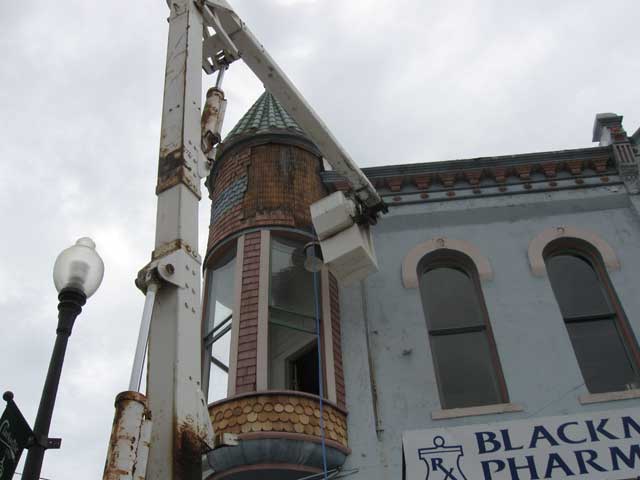
Tower scaling
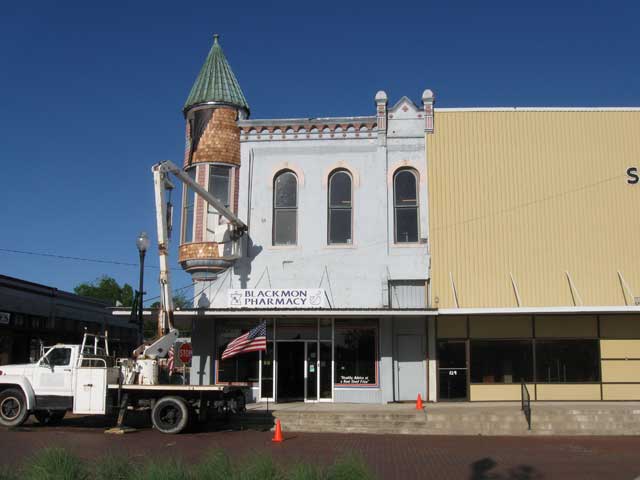
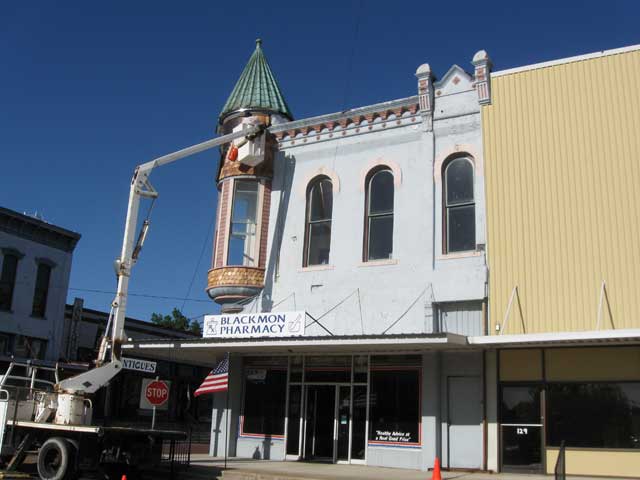
As you can see, a Left-handed Fargle-snorker is a handy tool for this task!
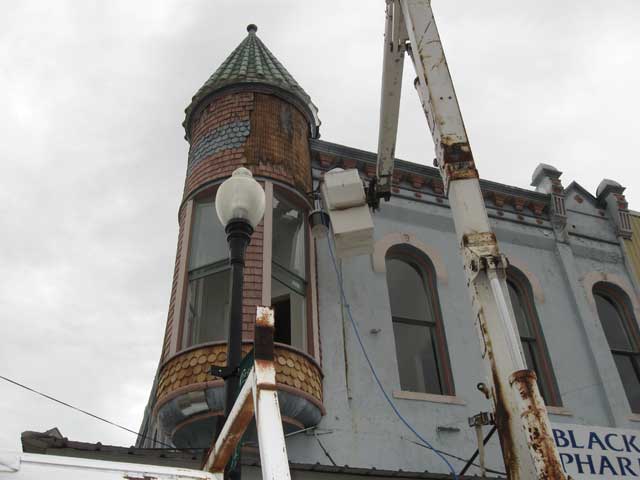
a Left-handed Fargle-snorker is a handy tool
To avoid a huge mess in the street and having to clean too much stuff off of the awing, all this I’m peeling away I put in the bucket hanging from…well…my bucket. Then to save time I’d lower it by strap to the window and my Dad would exchange it for a fresh bucket.
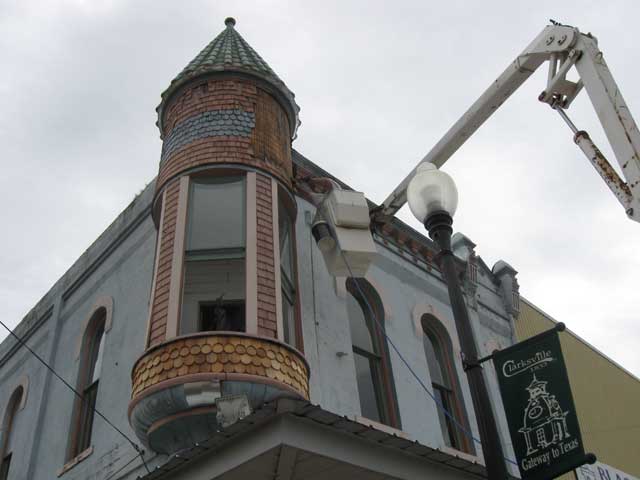
Buckets of scales were removed
Up and down. Around and around.

Up and down. Around and around.
I dropped plenty of small stuff on the awning anyway…a lot of the shingles were only held on by a wish and a prayer and disturbing one would let a sliver of another drop off. I’ll sweep off the awing (from the bucket) a little later.

More up and down
I destructed about half to start with…as that’s what could be easily reached without moving the truck around. I then started the re-assembly process.
Removed about half to start with
The underlay was in amazing condition…with ZERO rot or serious problems despite the condition of the shakes. I had expected substantial repairs to be needed but thankfully the only thing needed was some loose stuff re nailed.

The Underlay was in good condition
Here the pattern and jig-saw-puzzle nature of this beast begins to show itself. I did a bit of extra work to present some additional flourish in the form of pattern to the siding.
One big jigsaw puzzle.
Down.
Down
Up.
Up
Round and round.
Round and round.
Nail nail nail nail nail nail.
Nail nail nail nail nail nail.
It’s fun to note…the old siding was probably original…it was all nailed on with square nails. So…cedar siding can last 115 years or so in Texas weather…more I expect if better cared for. Short of mass destruction or some sort of catastrophic weather event…I don’t expect to have to do this again!
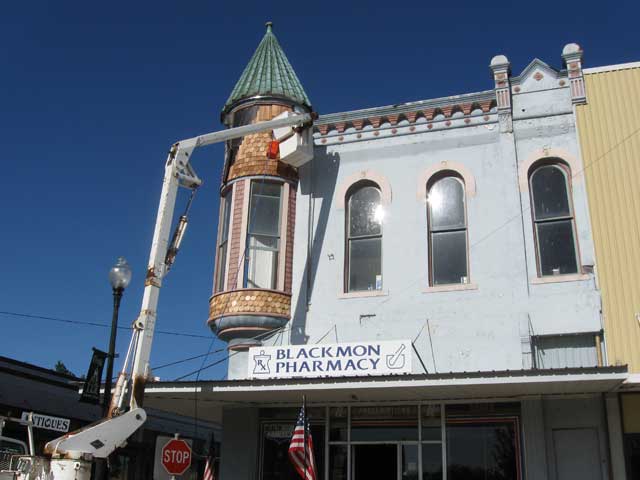
All held on with square nails...
This is where we left it for this weekend. It was getting late, and I was just plain used up. There’s a lot of work involved in that big jig-saw puzzle. My helpers (my Dad and my Wife) were worn out too.
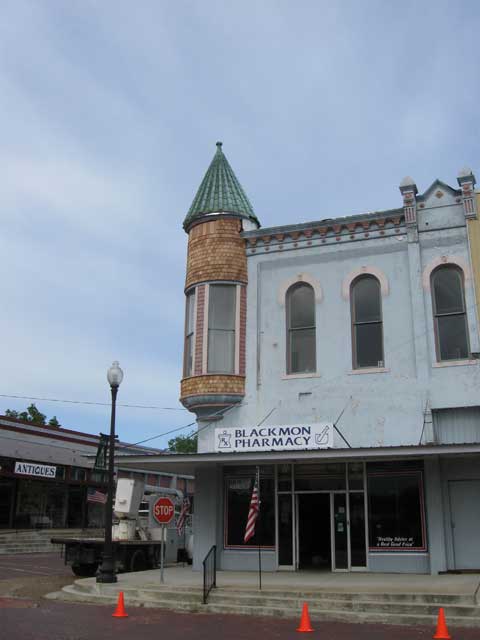
Almost done!
Almost done! As you can tell, there are just three rows left to apply. Of course, because we are approaching the top of the tower, every single shingle left to apply needs a cut. Excluding setup, there’s probably a couple hours work or so left to finish those off.
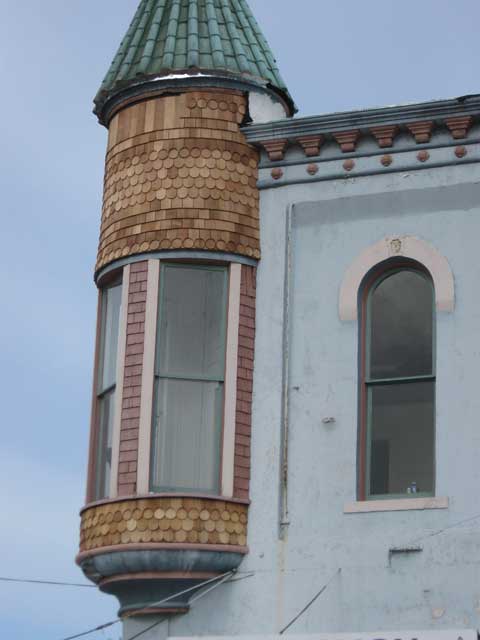
Close up view of the shingle detail
A good look at the pattern…
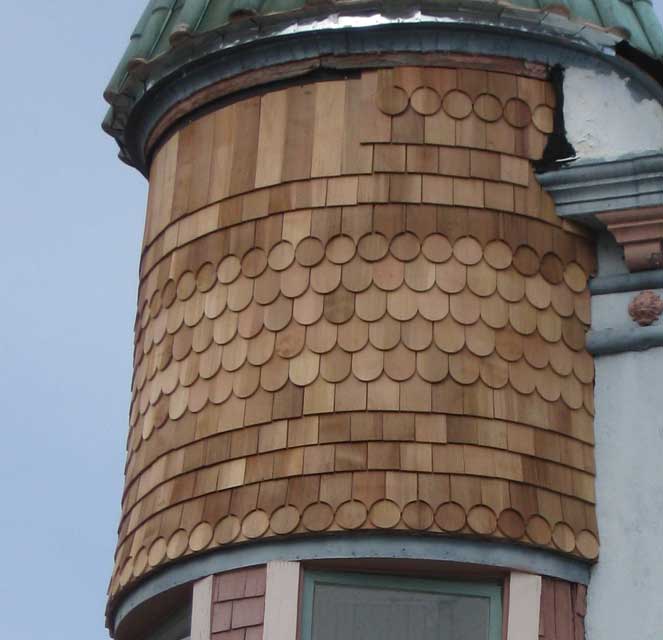
Close up view of the shingle detail
Once I finish the shingling, I’ve priming, caulking, and painting to do. There is also work needed around the windows to replace those shingles and get everything weather-proof. That will come as we have time…the main objective of this project was to stop further deterioration, improve the look of the city square, and to remove anything loose so it didn’t fall on somebody.
I think we accomplished that and SO much more.
A big thanks to my Dad and my Wife. They worked very hard…they probably hauled a ton of trash and debris out of the upstairs while also helping me (keeping me stocked with shingles/supplies, taking the old shingles I lowered, and making cuts for me).
Thanks!
Hopefully I’ll knock out the rest of the shingling and maybe some trim and caulking next weekend.
Heck…it’ll look downright spiffy for the 2010 Clarksville Fine Arts Festival (and I expect to see YOU there!)
CUAgain,
Daniel Meyer


Pingback: Done enough for now… | The Old Victorian
Pingback: It’s a sign!
Pingback: Oooo…all tingly… | The Old Victorian