I got more than a couple emails about this post, asking what I meant when I talked about adapting fixtures to different bulbs and the recent adaptations in the CFL world making it easier and more affordable.
Sooo…an example:
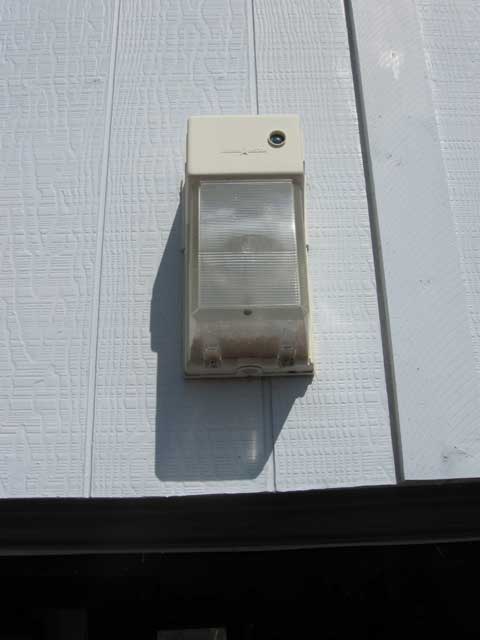
Original Mounted Fixture
Here is the original fixture, mounted on the wall over the garage door on our suburban “blah” house…it is a dusk-till-dawn 35 watt sodium, and died a few weeks ago. The problem with getting it going again, is the bulb alone costs $20, and the problem may be the ballast, which there is really no easy way to check. The ballasts for these fixtures are not available as a replacement part, and the fixture itself costs around $75.
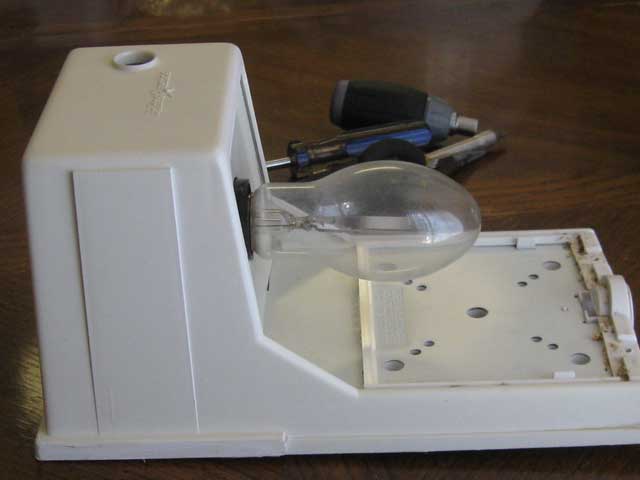
The sodium bulb
Very discouraging, as it only lasted about a year. I happened to have an extra sodium bulb (from the last time this fixture quit) and determined the ballast was bad, but buying a $20 bulb just to check is a risk. Nobody takes bulbs on return…
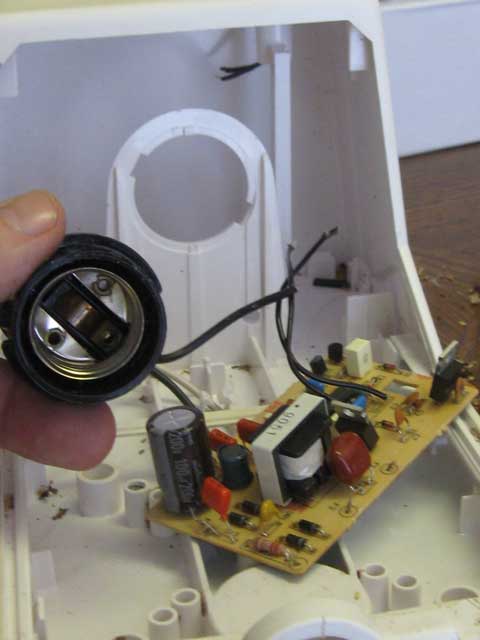
The ballast (circuit board) and socket.
This is the ballast and socket. There is also photocell to make this a dusk-till dawn fixture. My house has a commercial quality photocell in this circuit so I am not replacing it. There are commercial quality photocells that could easily be stuck in this fixture for about $10 at your local homeowner hell store. If you don’t have one in the circuit (most don’t) I’d recommend replacing the one the fixture was equipped with (it will be trouble) with one of the commercial quality ones (make sure it is one rated for CFL or other ballasted bulbs when purchasing it).
So…I took out all the guts and discarded the ballast.
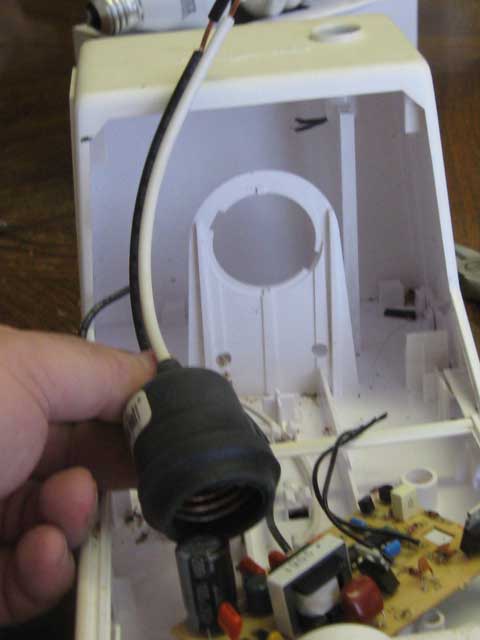
A new pigtail if needed
In my case, the socket was good, AND the right socket for a conventional bulb base (called a “medium base”) so I used the one that was already in the fixture. If you need a new one, this type is available at your local homeowner hell store for about $3 and will do the job just fine. Mount it in a handy hole (or make one) and secure it with a couple blobs of adhesive silicone.
They make CFL’s in an amazing array of sizes and shapes. In this case, this is a 23 watt CFL…about equivalent light output to a 100 watt conventional bulb (at 1/5 the energy usage). You have color choice too…I chose the warmer side. I recommend my friends over at 1000bulbs.com for any of your bulb needs (alas, no compensation for the endorsement…just a satisfied customer).
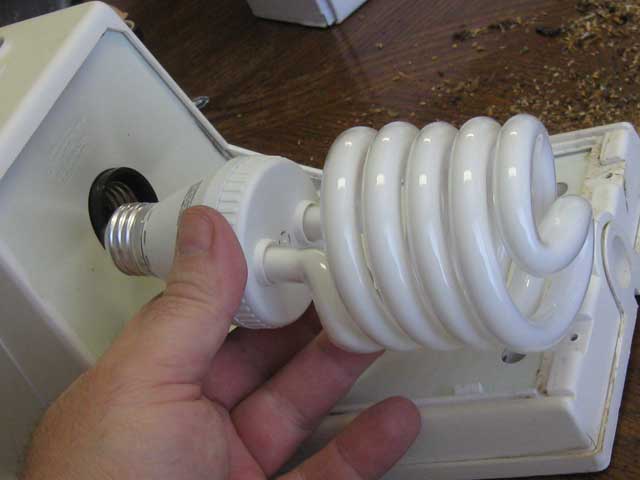
The new bulb. In this case a 23 watt CFL (about 100 watt conventional equivalent)
This bulb is about an $4 bulb AND the ballast is built in. No expensive fixture replacement needed. No other parts. When it dies, I’ll KNOW it’s the bulb/ballast combination and just replace it easily. I can also check it or replace it with a conventional bulb too. This $4 CFL bulb is rated for 10,000 hours.
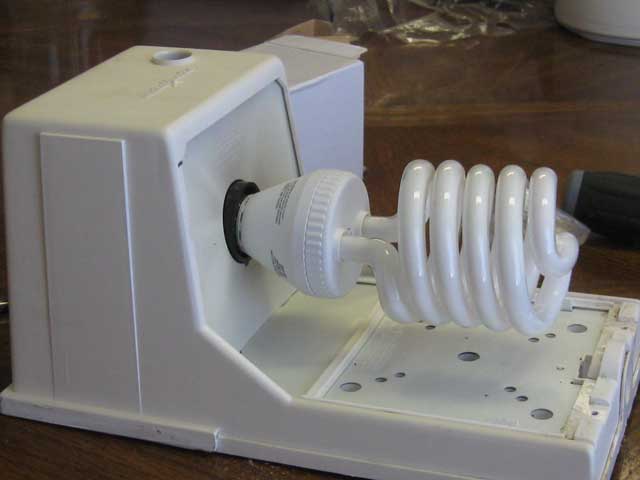
Ready to go except the cover.
Ready to go…I just need to hang the fixture and put on the lens.
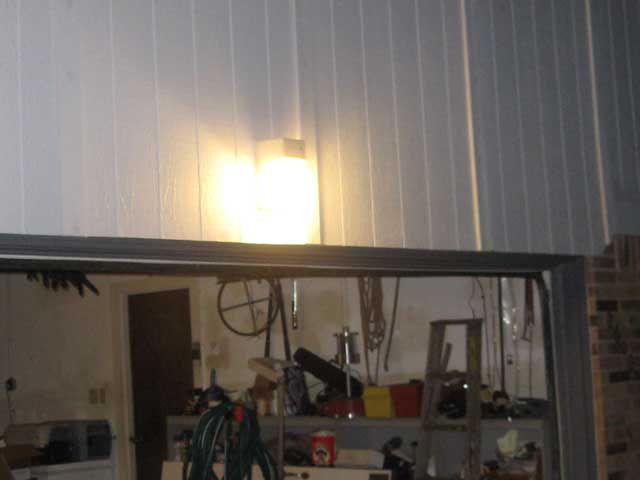
Done! Dusk till dawness confirmed!
Installed and tested.
Hope that helps! You can pretty much do this to any fixture you can fit the parts and bulb into.
I figure it saved me about $65 to adapt this one rather than replace it even if I had needed the new photocell and socket. It will also save in the future as it will last longer than a new replacement would AND all I have to do next time is a simple bulb replacement. It saves over a conventional bulb by using 1/5 the energy (2 cents a night vs. 10 cents a night), but I don’t need the expensive ballasted fixture.
CUAgain,
Daniel Meyer


One Response to Fixture Adapting…